We use cookies to improve your experience, analyze traffic, and support our marketing activities. You can accept all, reject non-essential, or customize your choices. Cookie Policy and Privacy Policy.
You have a model and need an image for the meeting – not a scene with materials, lights and render time. Upload the 3D model or send it from Archicad, choose the camera in the 3D viewer and describe material, light and surroundings. Geometry and details stay as modeled; the image is ready in minutes in the browser.
6,500+ registered users in CH, DE and AT.Over 100,000 visualizations in the first year.
One model.
One image for the meeting.
Houses, kitchens and a bathroom as a white model and visualized – the form from the model, material and light from the description. Click an example to switch from model to image.
01
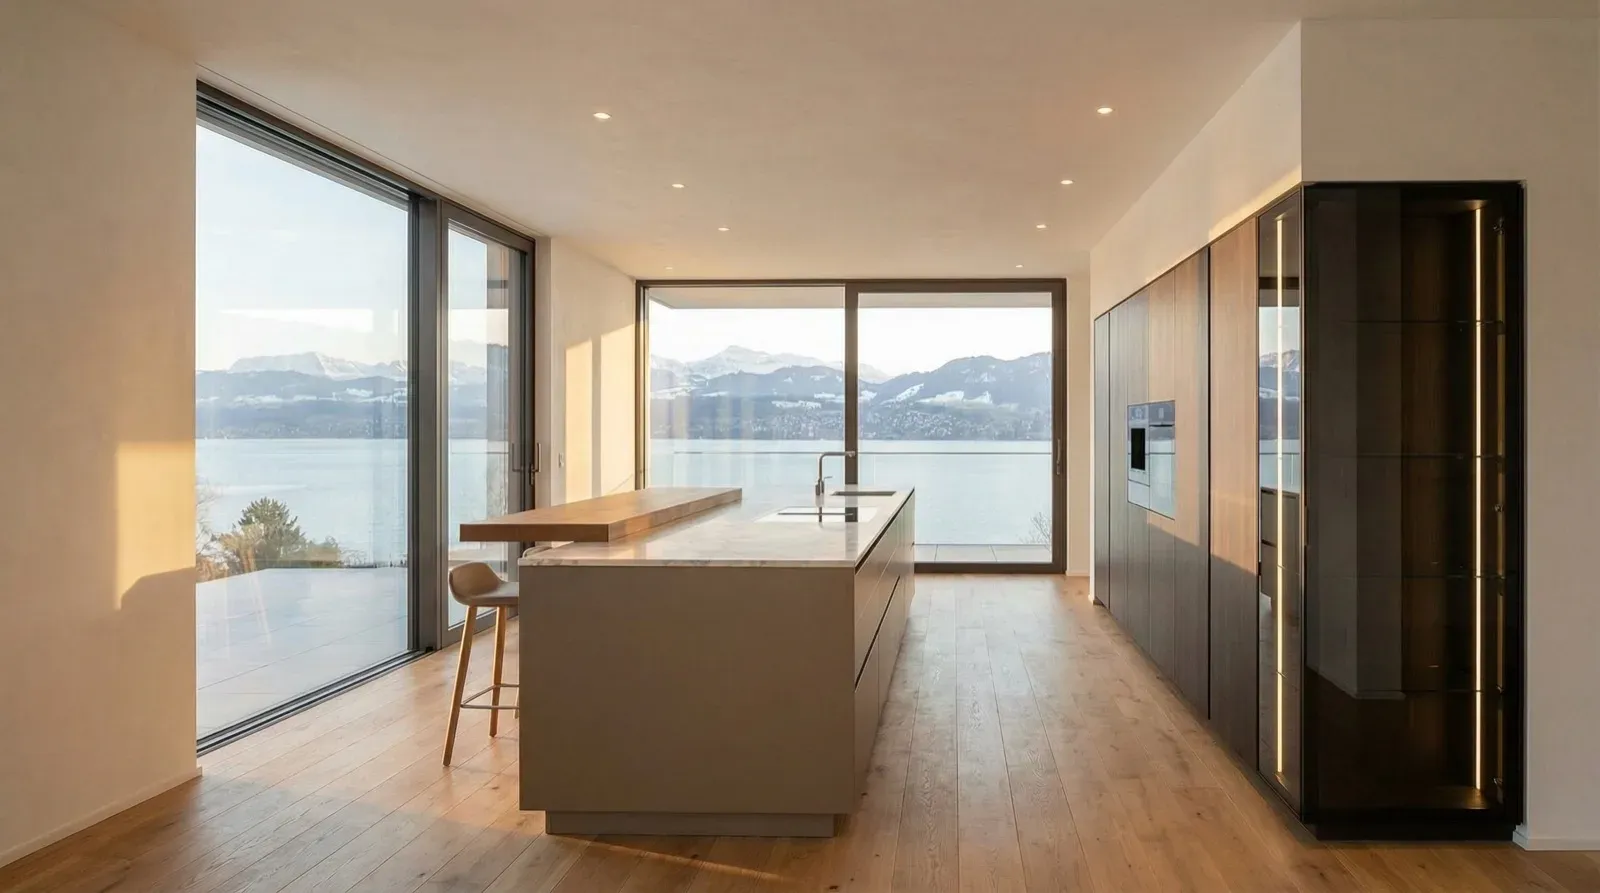
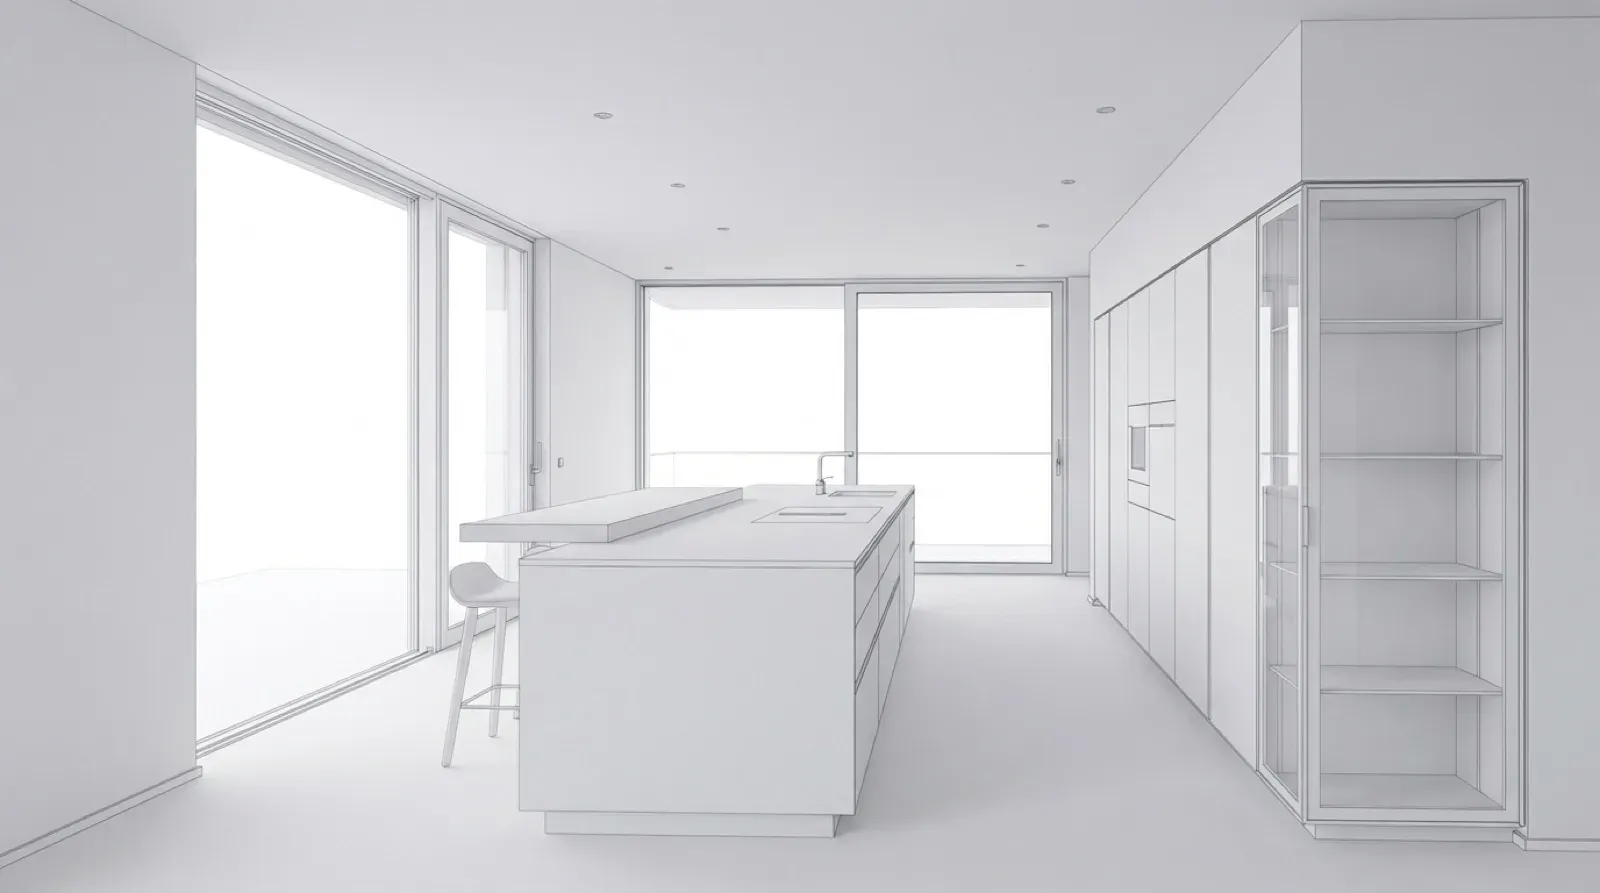
Kitchen by day and in the evening
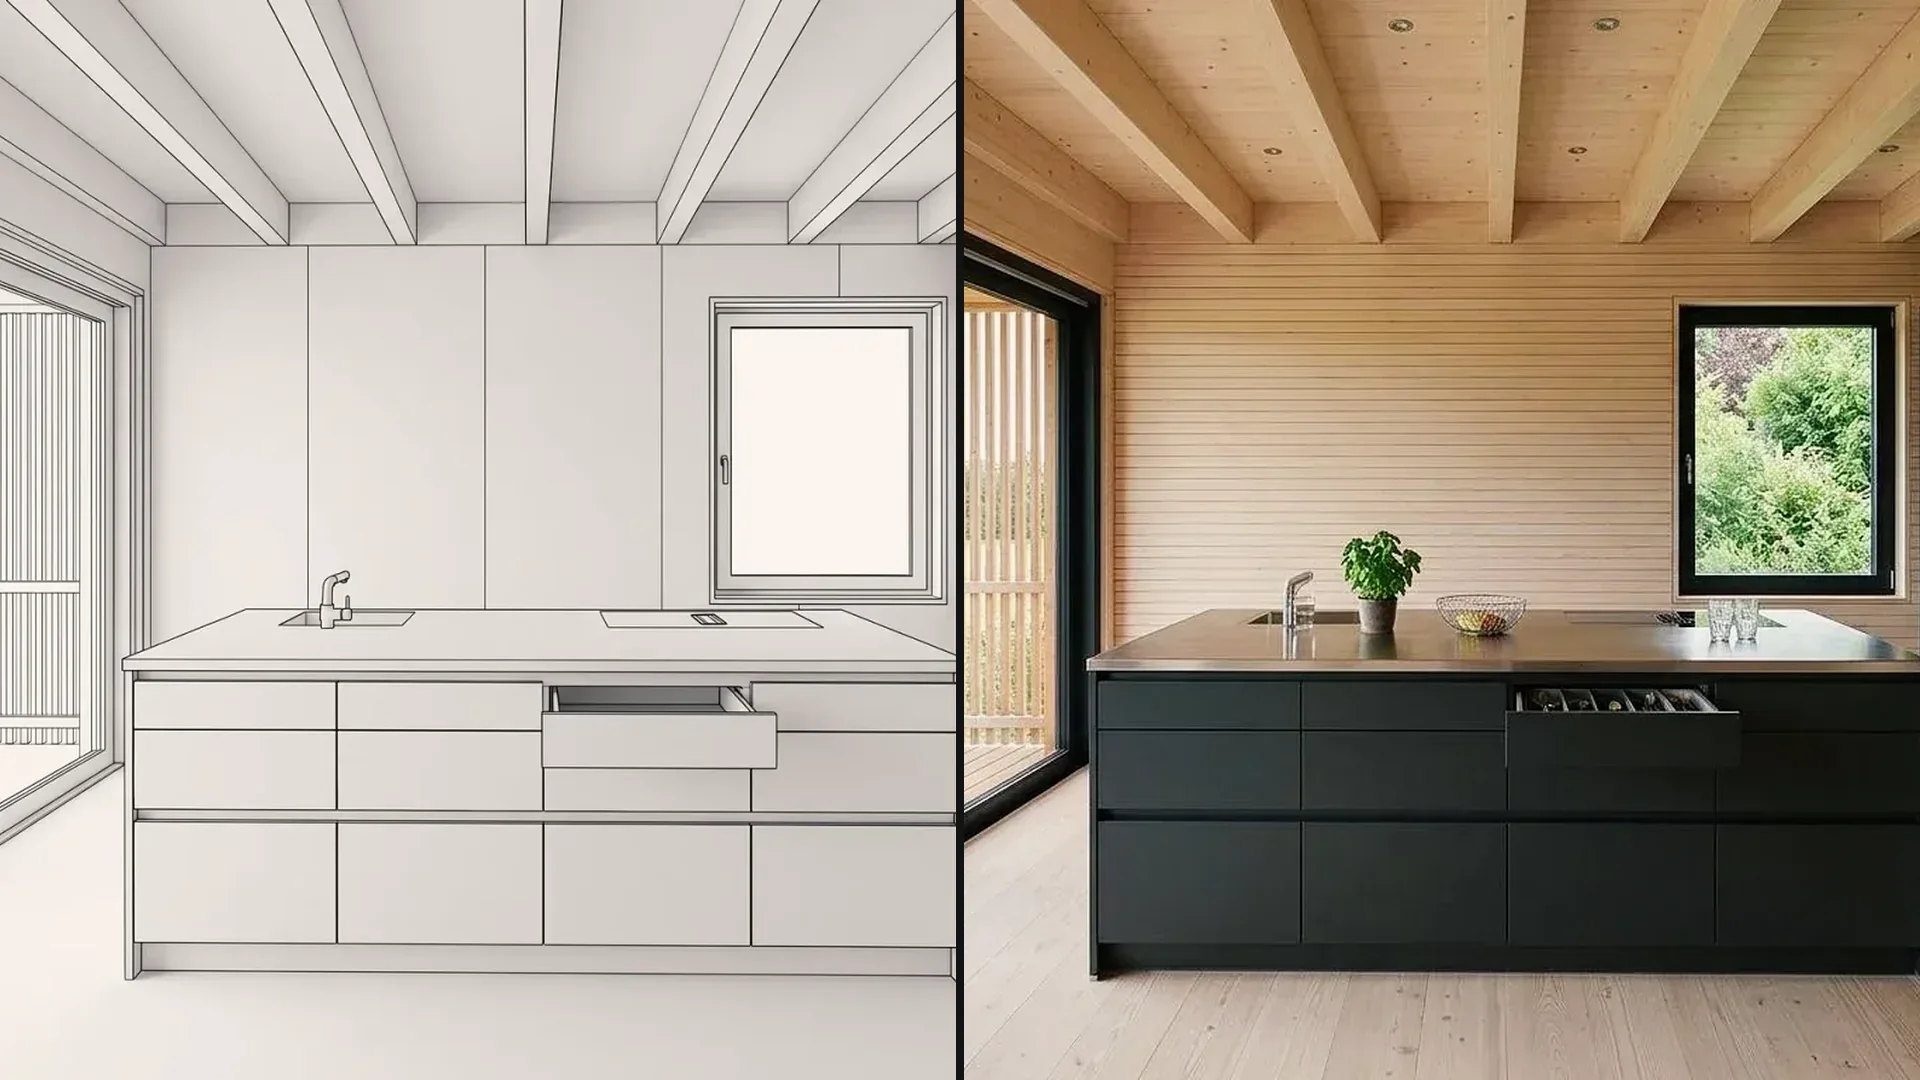
The kitchen with cooking island as a white model and visualized by day and in the evening – the same model view, two lighting moods for the customer.
02
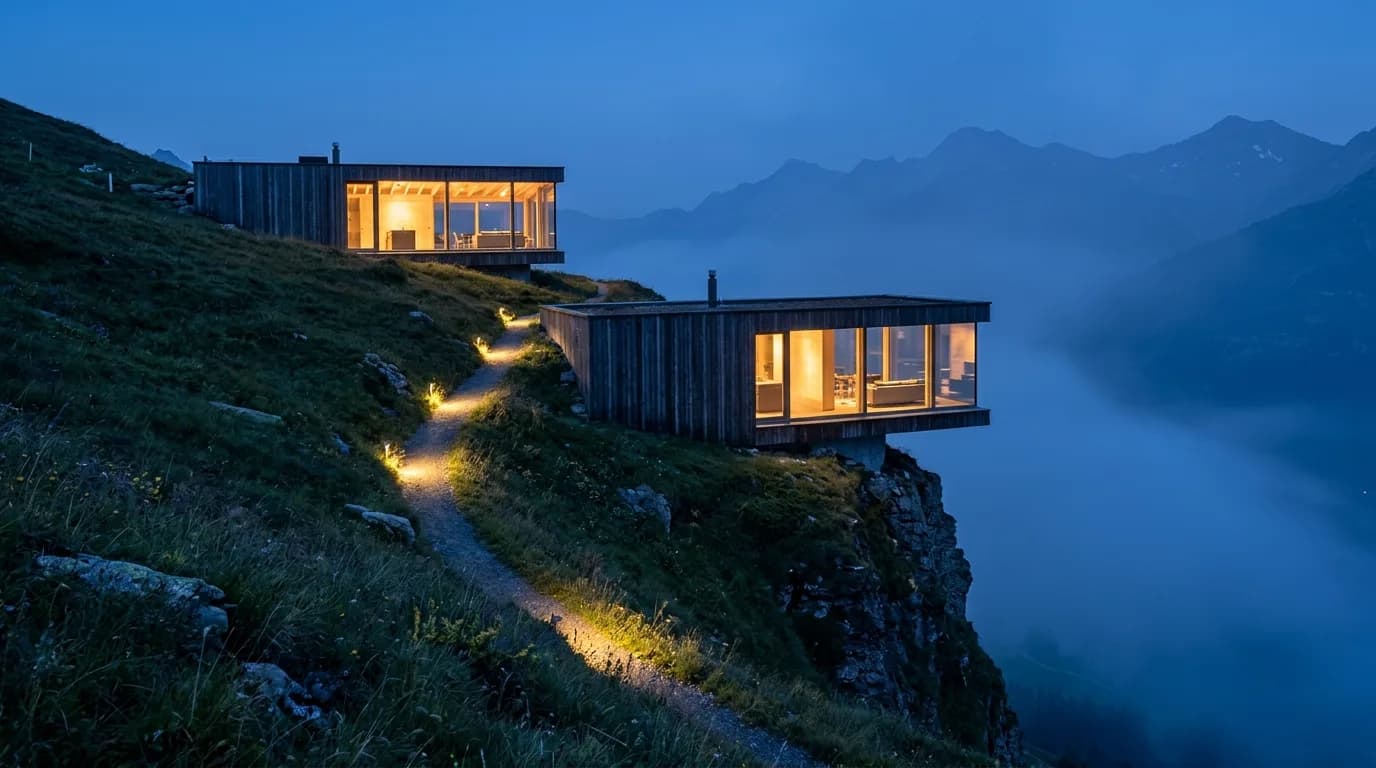
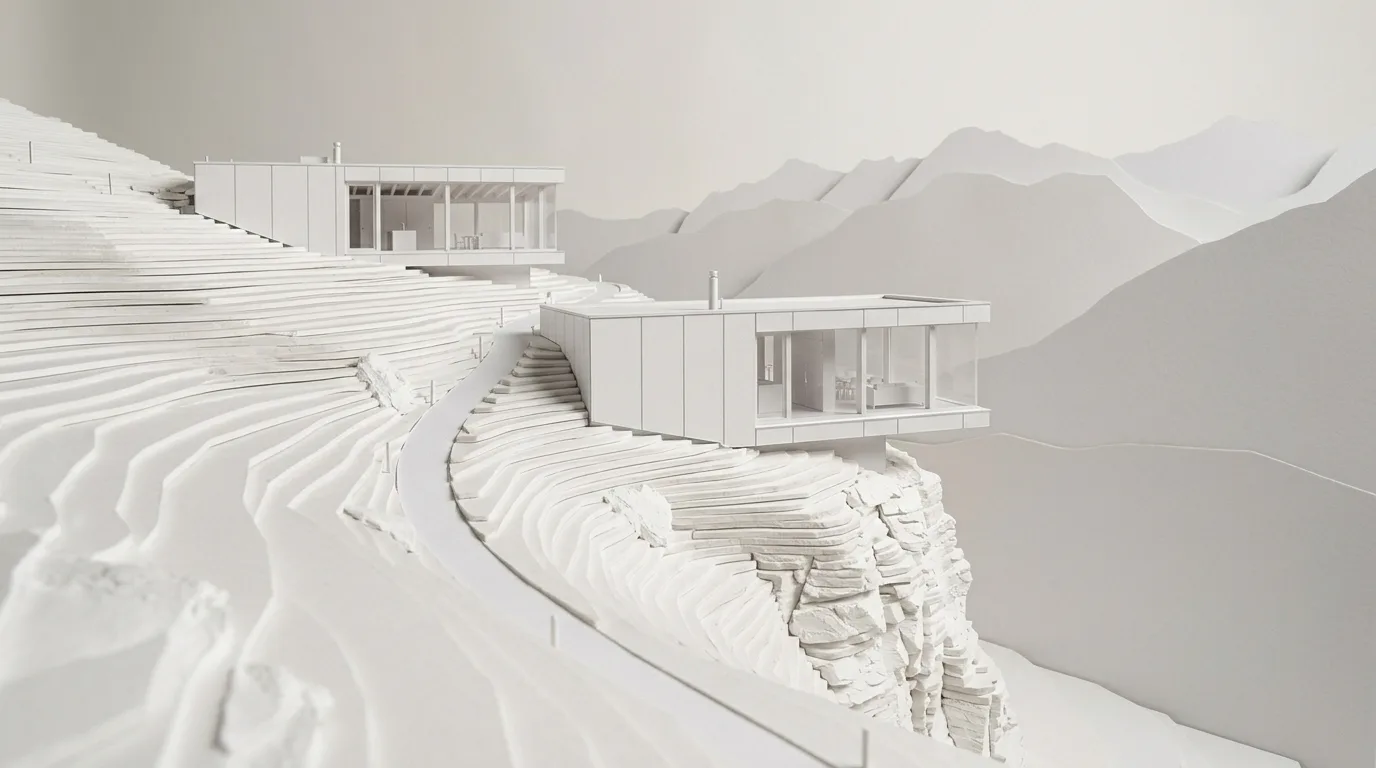
Houses on a steep slope
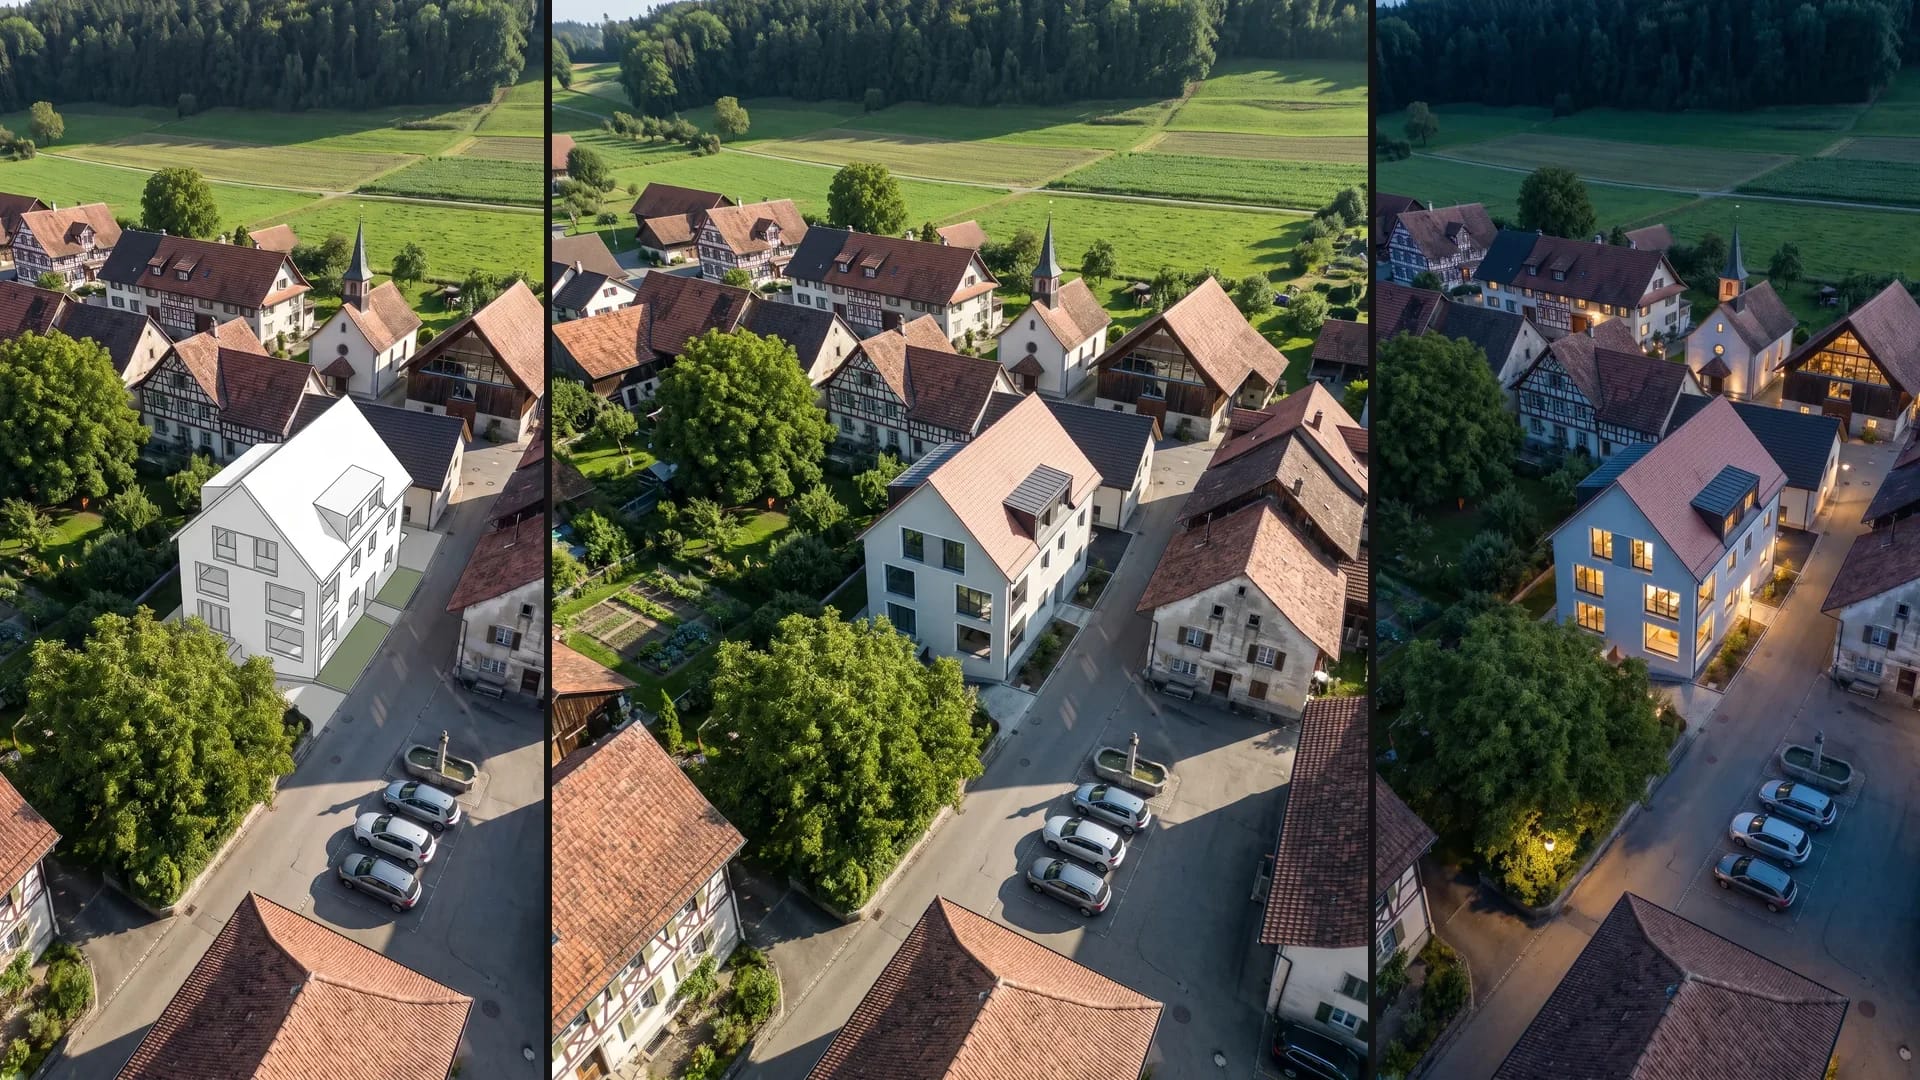
The white model stands for the planning stage; alongside, the two houses at blue hour and on a summer morning – that is how the model view becomes the image for the clients.
03
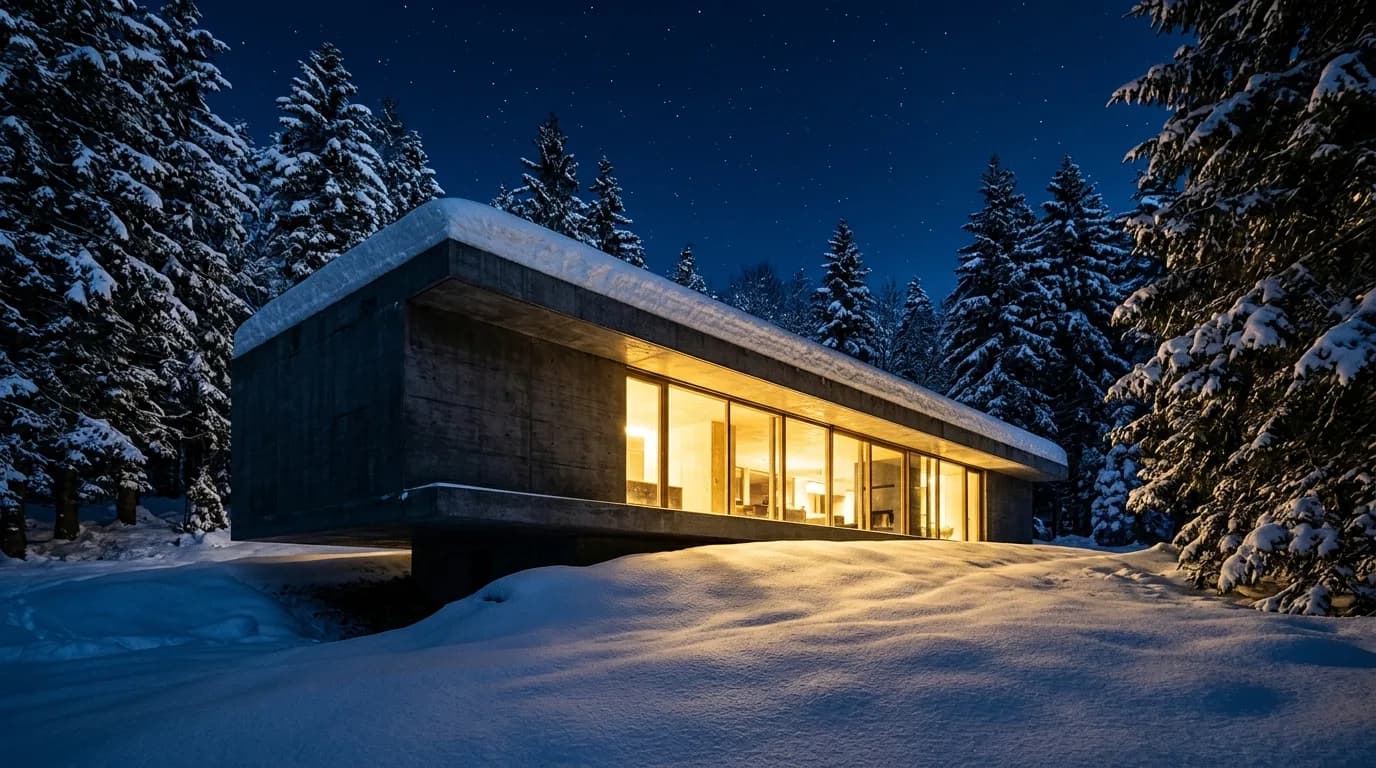
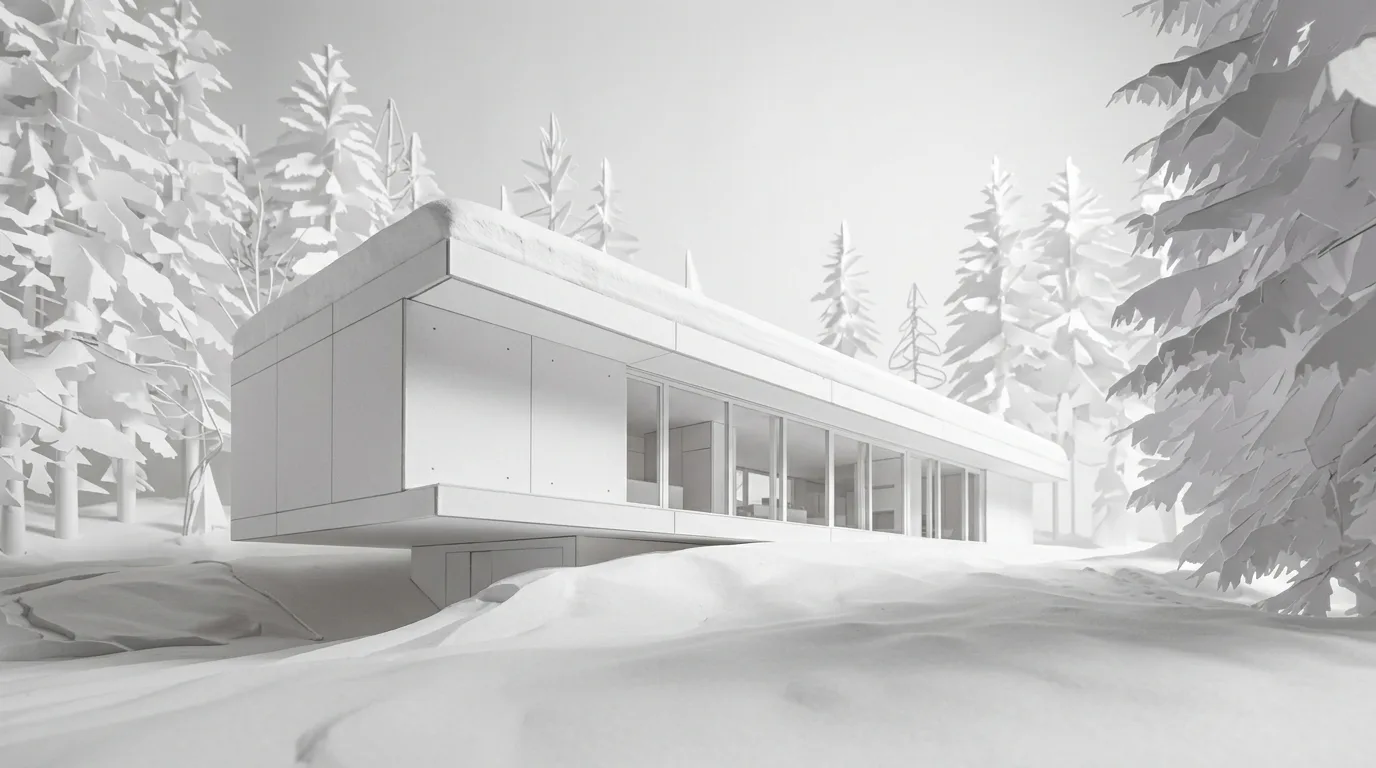
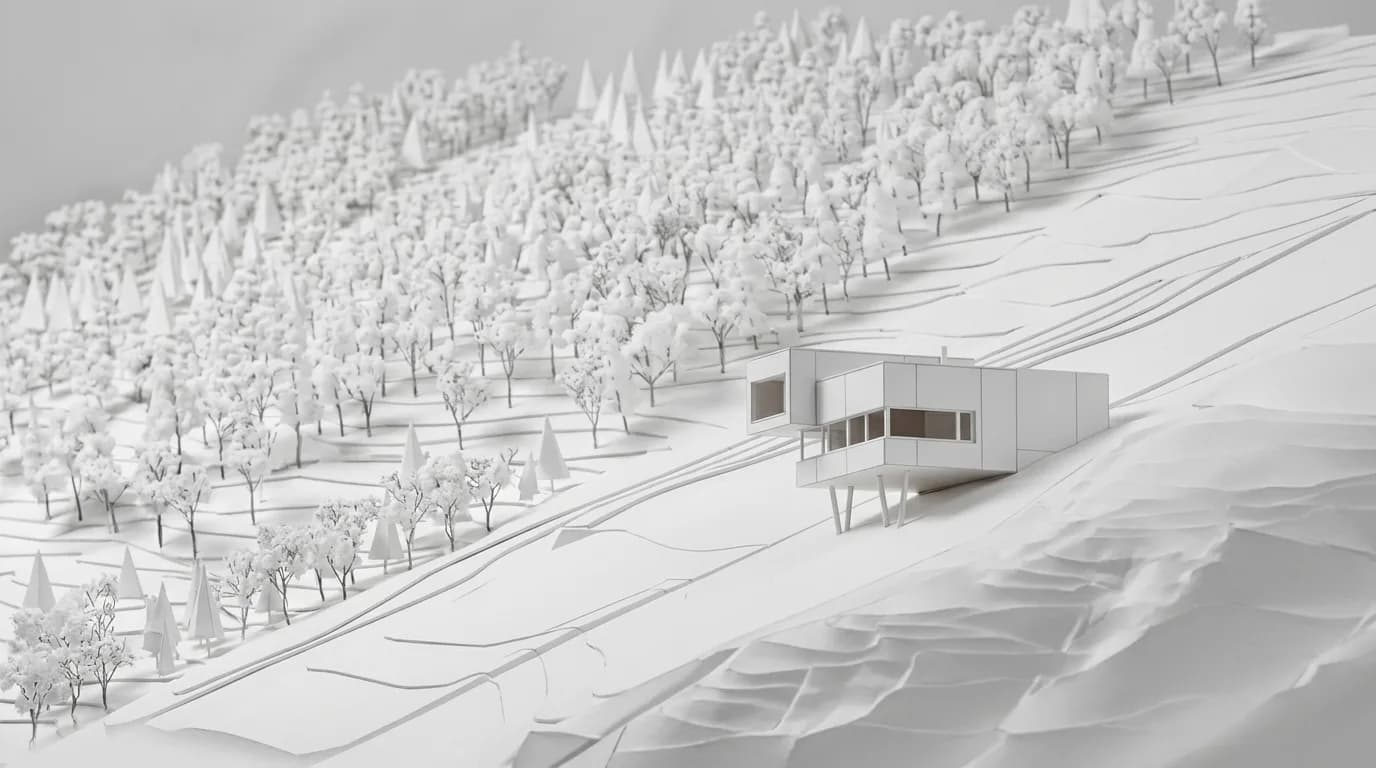
Chalet in the forest
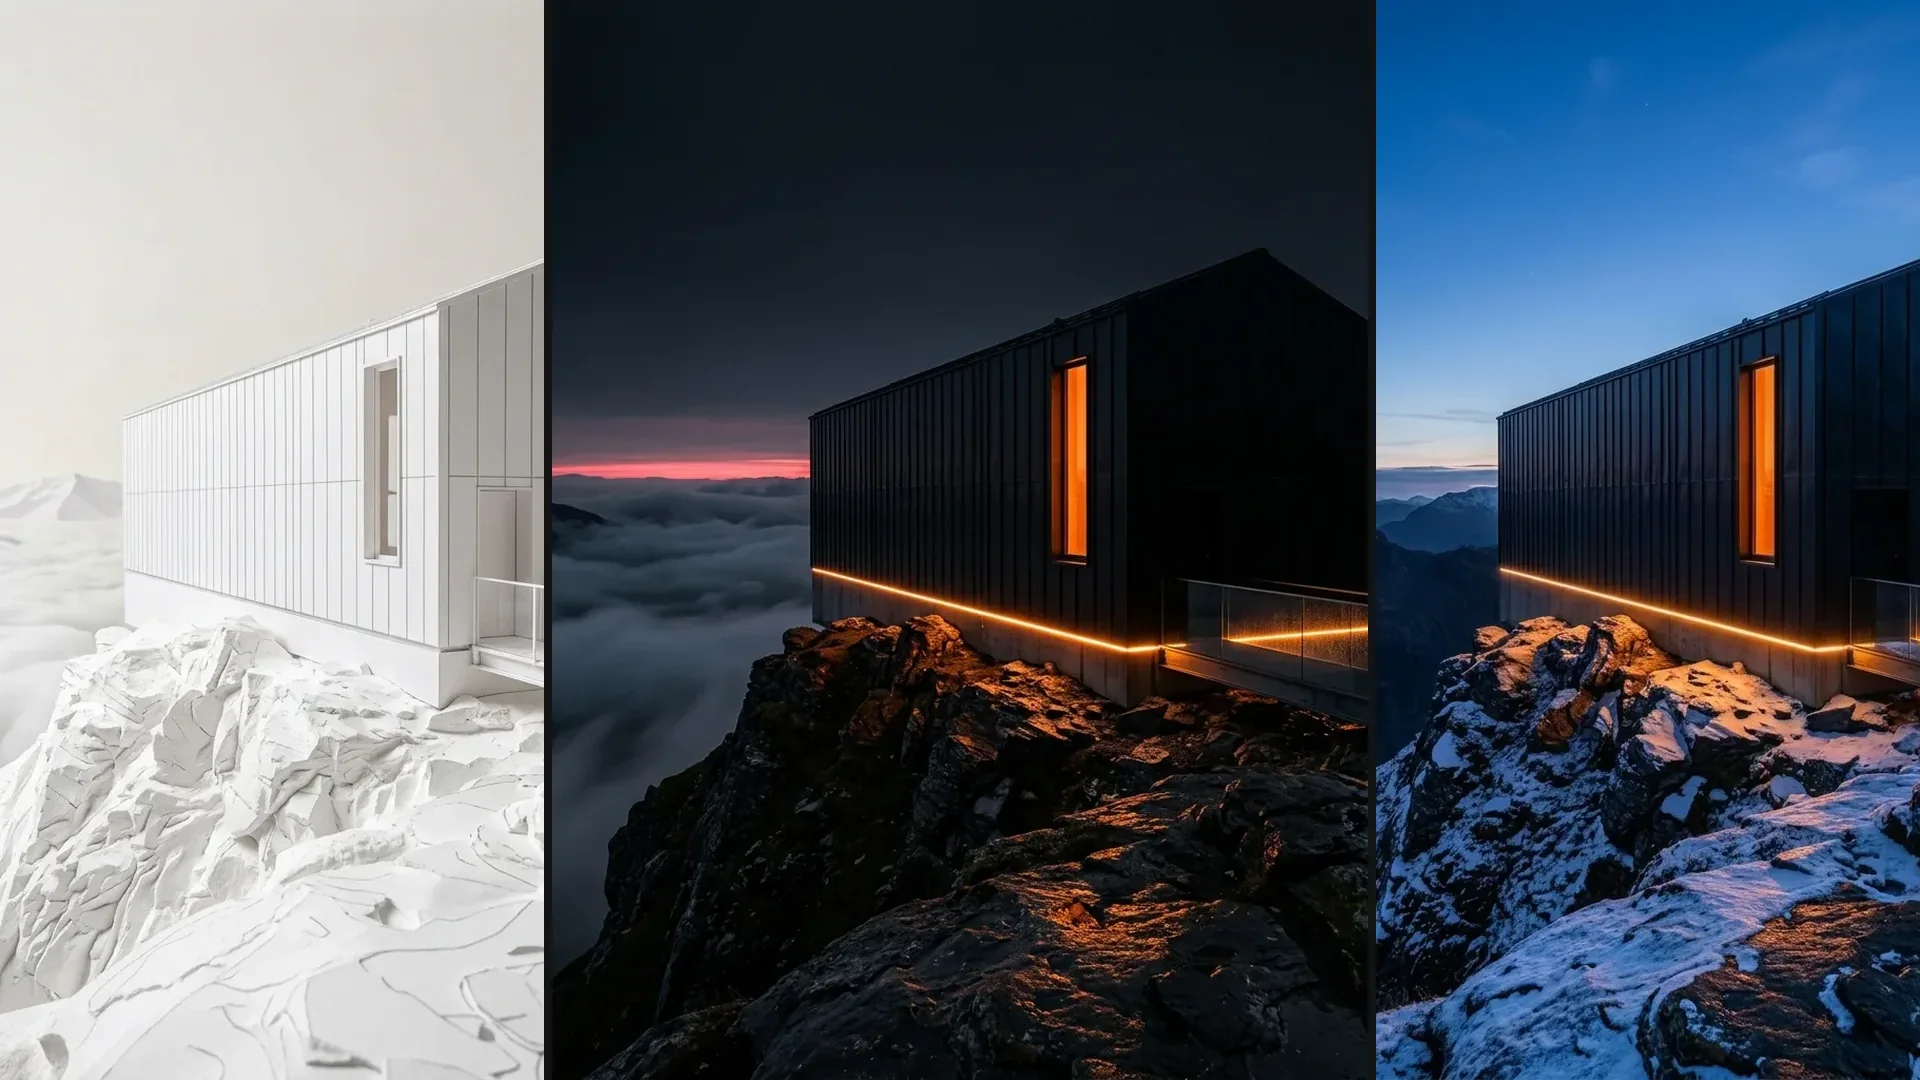
The chalet as a white model, at night with a dark facade and with larch and oak – surroundings and light come from the description, the form stays.
04
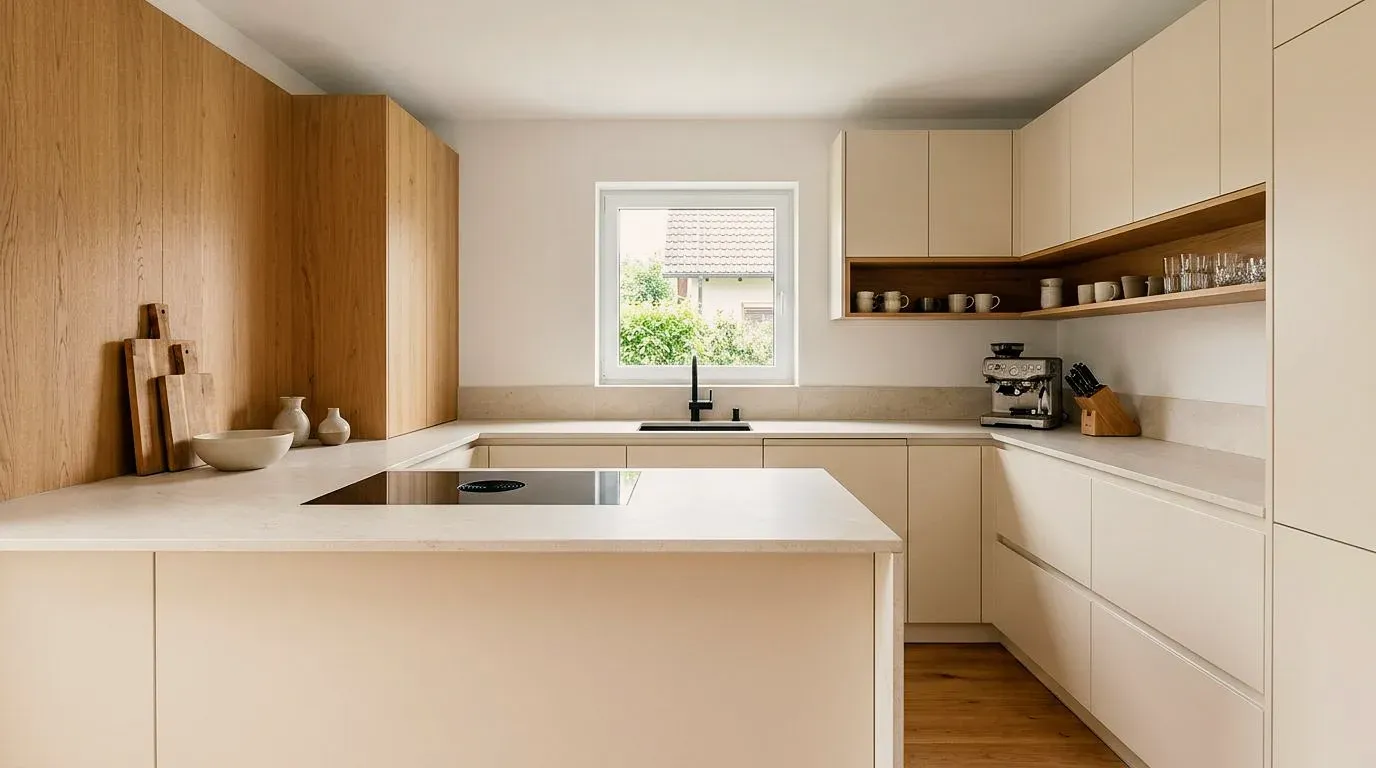
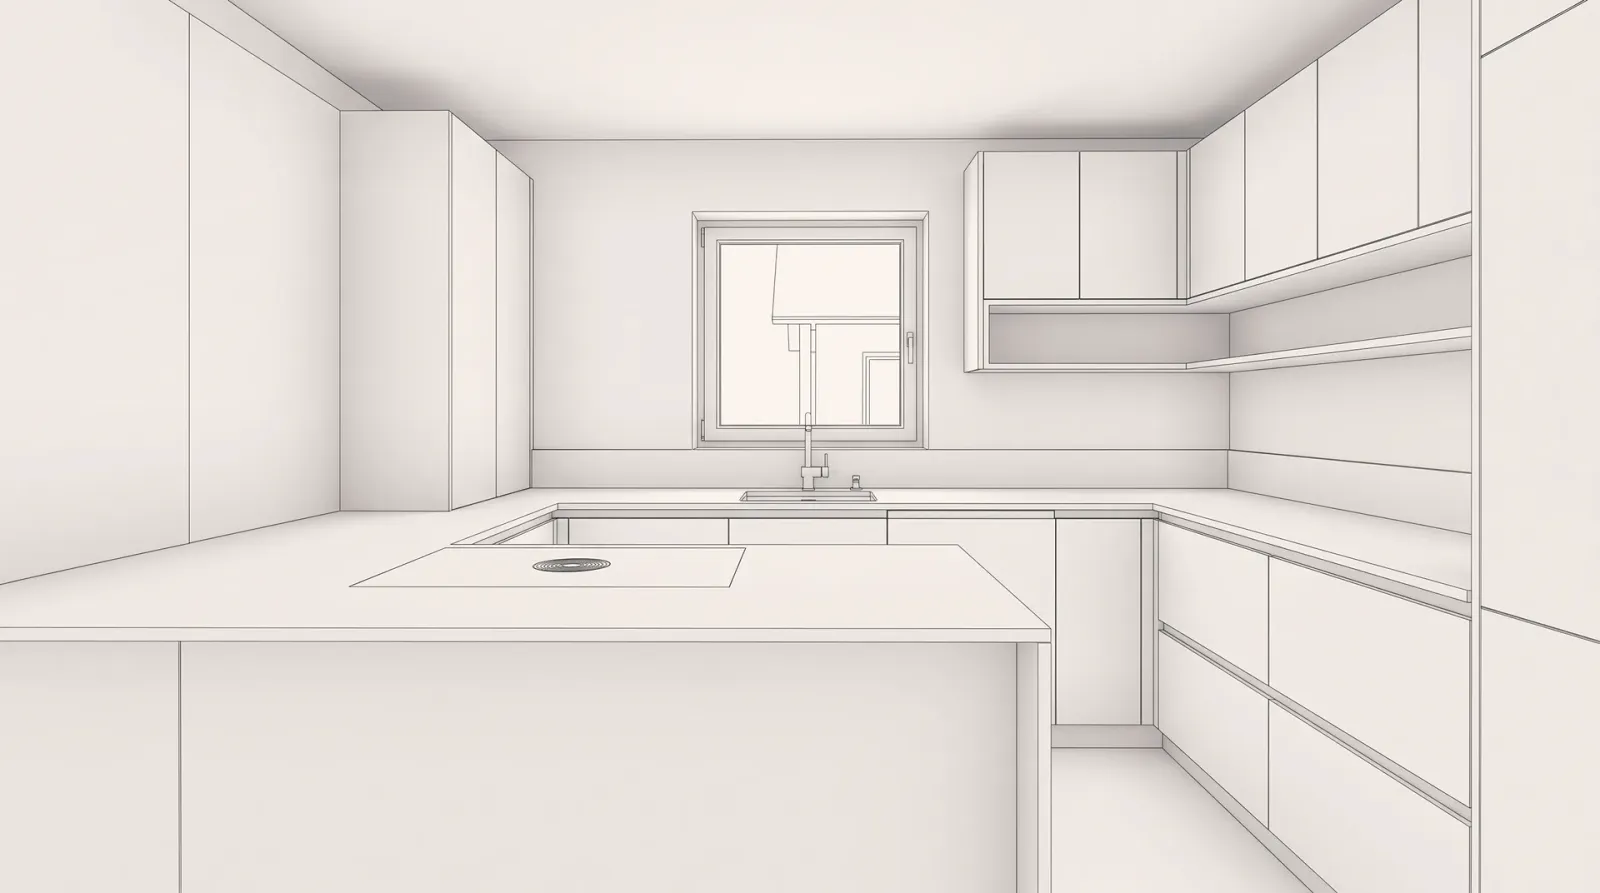
U-shaped kitchen with peninsula
The U-shaped kitchen as a white model, visualized and in a material variant – from the planner screenshot to the image for the consultation.
05
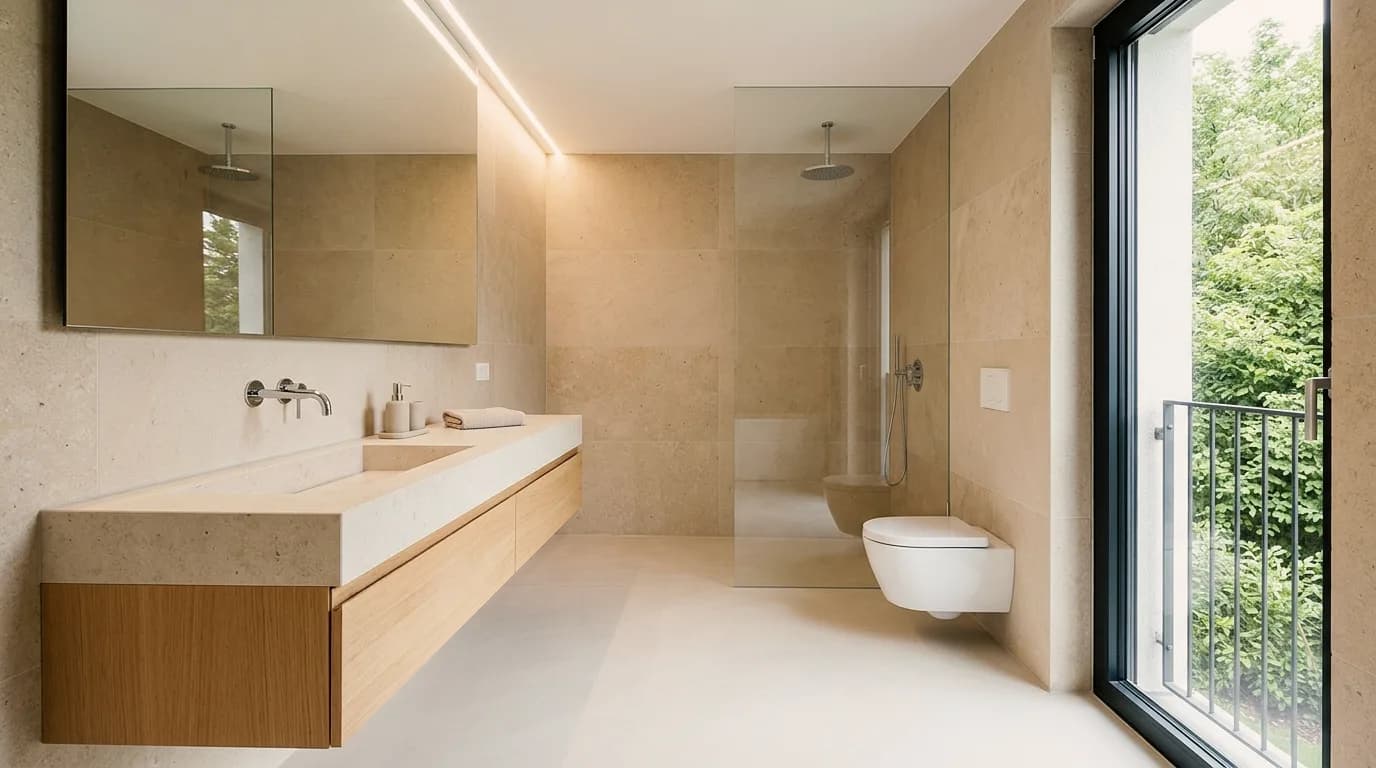
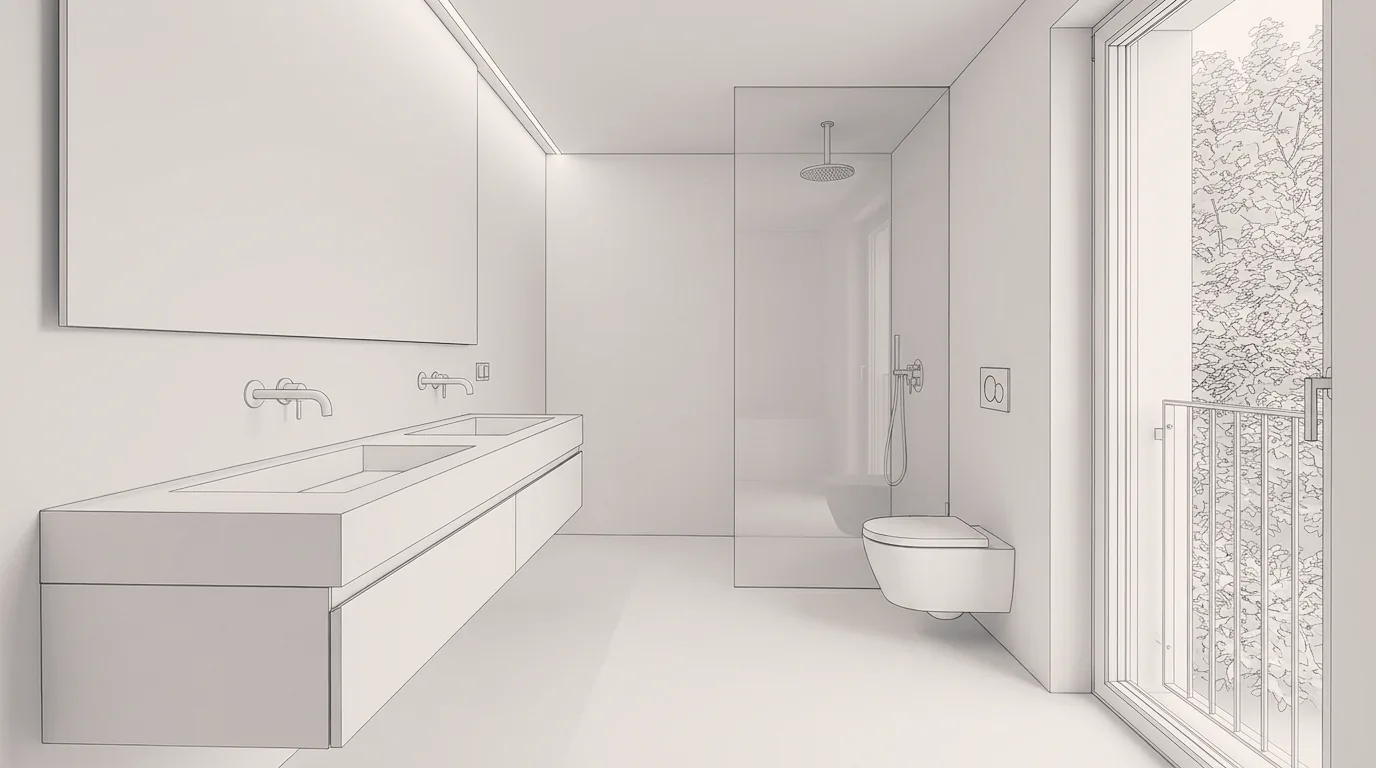
Bathroom in limestone or marble
The bathroom with walk-in shower as a white model, in light limestone and in marble with smoked oak – two material concepts from one model view.
06
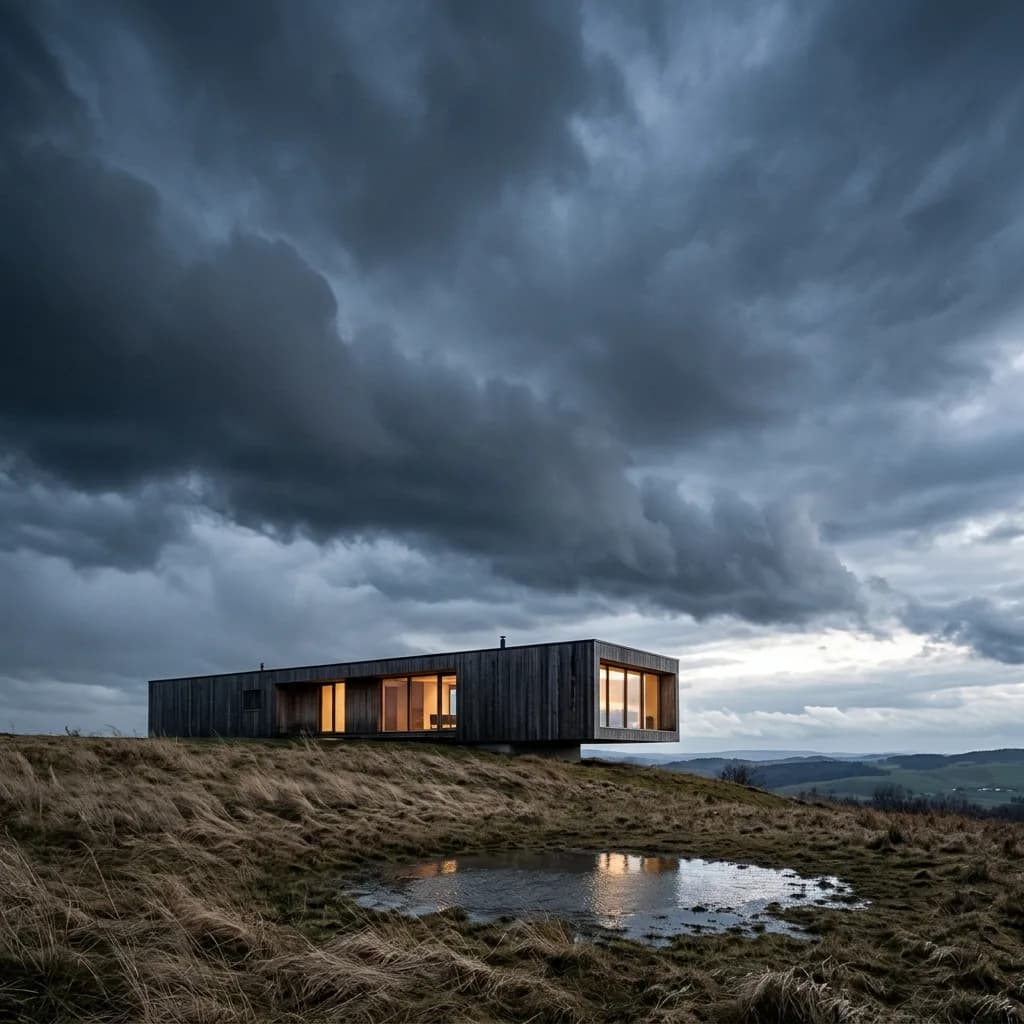
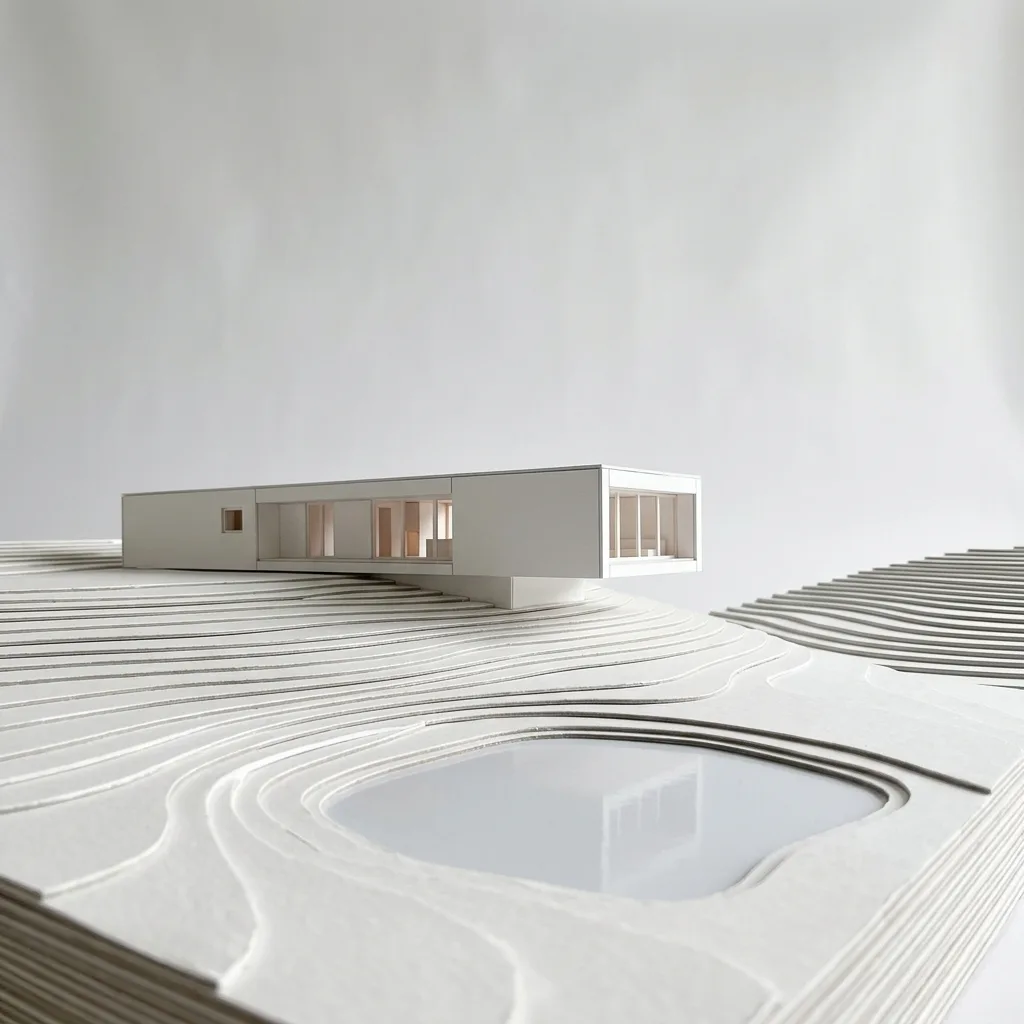
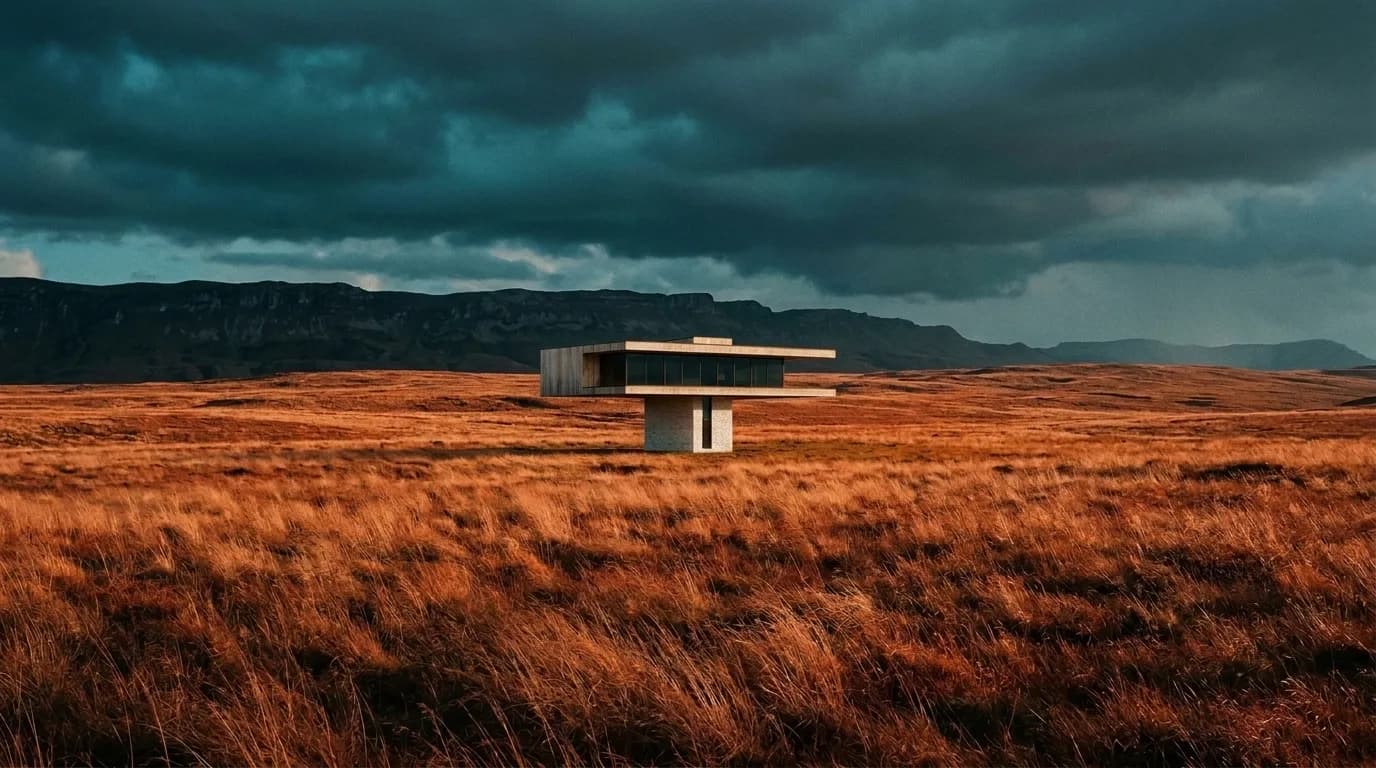
Low building under storm clouds
The low building as a white model, under storm clouds and with limestone and oak – weather and material compared on the same volume.
Made with Vizera.
From model to image.
White models and CAD massing and the visualizations made from them. Click an image to see the versions.
How Vizera accompanies a project from the uploaded model to the meeting – without a renderer in the office.
Model
Upload the model
Upload the 3D model as GLB or in the common export formats from SketchUp, Revit and other programs – white model or textured – or send it from Archicad with the plugin, cameras included. You set up the view in the 3D viewer. A screenshot still works as a template.
Material
Describe material and light
Describe facade, time of day and surroundings in plain language or provide reference images. Two or three versions are usually enough to find the direction.
Presentation
Images for the meeting
Place the versions side by side in Boards, upscale the chosen image for print or projector and download it as PNG.
Changes
After the meeting
If the model changes, upload it again or sync it from Archicad; if only the material changes, keep working on the image – with Masking where something should change.
Edit precisely.
Organize variants.
Mark an area, show material or style with a reference image, and collect the variants in Boards. Here's how it looks in the app.
01
Targeted changes with masking
Mark the area that should change – a facade panel, the floor, the surroundings – and the rest of the image stays as it is. The marked area is recalculated; outside the mask the image may lose a little sharpness.
02
Show material and style with references
Show material or style with a reference image. The result interprets the sample.
03
Collect model views in Boards
Place the white model and versions side by side – from the first view to the image for the meeting. That way your clients see what has become of the model.
From model to image
in everyday work.
How firms, students and developers turn model views into presentation images.
Depending on model and resolution. Subscription credits reset monthly and are used first; purchased credit packs are valid until the end of the third calendar year after purchase.
A convincing image also has to hold up in everyday design work. In Vizera Labs, we test AI models and editing methods on architecture and interior images – with documented comparisons, measurable criteria and human evaluation.
Model fidelity
Are the model's volumes, openings and proportions preserved in the image – from the 3D viewer as well as from a screenshot? We compare visualizations with the model and check what is carried over and what is added.
Masked image editing
New surroundings should not quietly change the facade. We measure what happens inside and outside the marked area during local edits.
Materials and references
How close does the result come to your material sample? We compare reference image and visualization and assess how color, surface and material character carry over.
Quality after multiple edits
First the facade, then the light, then the furnishings: we examine how image structure, sharpness and colors change across several editing steps.
Upscaling and image detail
More pixels don't automatically mean better detail. We compare upscaled images in close-up and check for convincing structures, smoothing and unwanted textures.
AI models compared
Which model suits which task? We compare models on shared test tasks and evaluate image quality, processing time and cost as the basis for our product choices.
Internal Vizera tests. Results apply to the documented tasks, models and settings. You'll find the test scope and limitations with each study.
What works today.
And what doesn't yet.
The model view becomes an image for the decision. The model remains authoritative for dimensions, geometry and construction.
An image, not a calculation
With the model in the 3D viewer, geometry, openings and details are preserved; material, light and surroundings are plausibly depicted, not physically calculated. With a screenshot as the template, edges and small details may differ – there, Masking protects what should stay.
No walkthrough, no animation
The result is a still image as PNG. For walkable scenes, films and panoramas, Enscape, Lumion and V-Ray remain the tools – the comparison is on the comparison pages.
One camera per image
Each camera produces its own image. With the model in the 3D viewer, geometry and location stay the same across all cameras; you keep material and mood consistent with the same description and the same reference images.
Features and
use cases in detail.
How the individual tools work and what firms and businesses use them for.
Answers on programs, textures, model fidelity, Archicad, print and multiple views.
From any program that exports a 3D model – Archicad, Revit, SketchUp, Rhino, Blender, Vectorworks, AutoCAD or a kitchen planner. Upload it as GLB or in the common export formats from SketchUp, Revit and other programs. For Archicad, the plugin sends the model and cameras directly. A screenshot or image export as JPG or PNG up to 5 MB works as a second route.
Both work. The white model sets the form and leaves material and light to the description; a textured model also sets materials, which Vizera keeps. For open material decisions, the white model is the better starting point.
With the model in the 3D viewer, volumes, openings, proportions and details stay as modeled – the image follows the camera you choose. With a screenshot as the template, edges and details may differ. In the Labs we disclose how we test model fidelity.
With the plugin for Archicad 28 and 29, you send the current view directly to Vizera or sync the model with cameras and revisions; location, terrain and neighboring buildings are added from swisstopo data. From other programs, you upload the model as a file.
For meetings and projectors, yes; for print, upscale the chosen image in Vizera. Export the model view as large and sharp as possible – whatever is missing in the screenshot, the image can only invent.
Each camera is its own image, but it is the same model: geometry and location stay the same across all views. You keep material and mood consistent with the same description and the same reference images – and with Boards, where you check all views side by side.
With a suitable paid plan, commercial use is permitted under the terms of use. Free is intended for non-commercial testing; images from Free carry the "Preview version" watermark. You need the rights to your source images and references. Review the result before you use it with your clients. Read the terms of use
200 Credits free, once at sign-up. A fixed number of images can't be derived from that: model, resolution and function determine usage, and further variants and edits also use Credits. Compare the included balance and available features in the plan overview. Compare Credits and plans
We do not train models on your images or projects. Details on how your content is processed and which services are used can be found in the privacy policy. Discuss any special confidentiality or client requirements with us before uploading. Read the privacy policy
See it on
your own model.
200 Credits free, once on sign-up. No credit card, no installation.