Finish the image
Decide on material, light and framing first, and use masking to edit what should change. The image that goes into the meeting is the one you upscale.
The output size is enough for screens and meetings; for posters, listings and competition boards, an image needs more pixels. Vizera upscales visualizations up to four times and adds structures that are only hinted at in the small image – as the last step, after everything else is decided.
6,500+ registered users in CH, DE and AT.Over 100,000 visualizations in the first year.


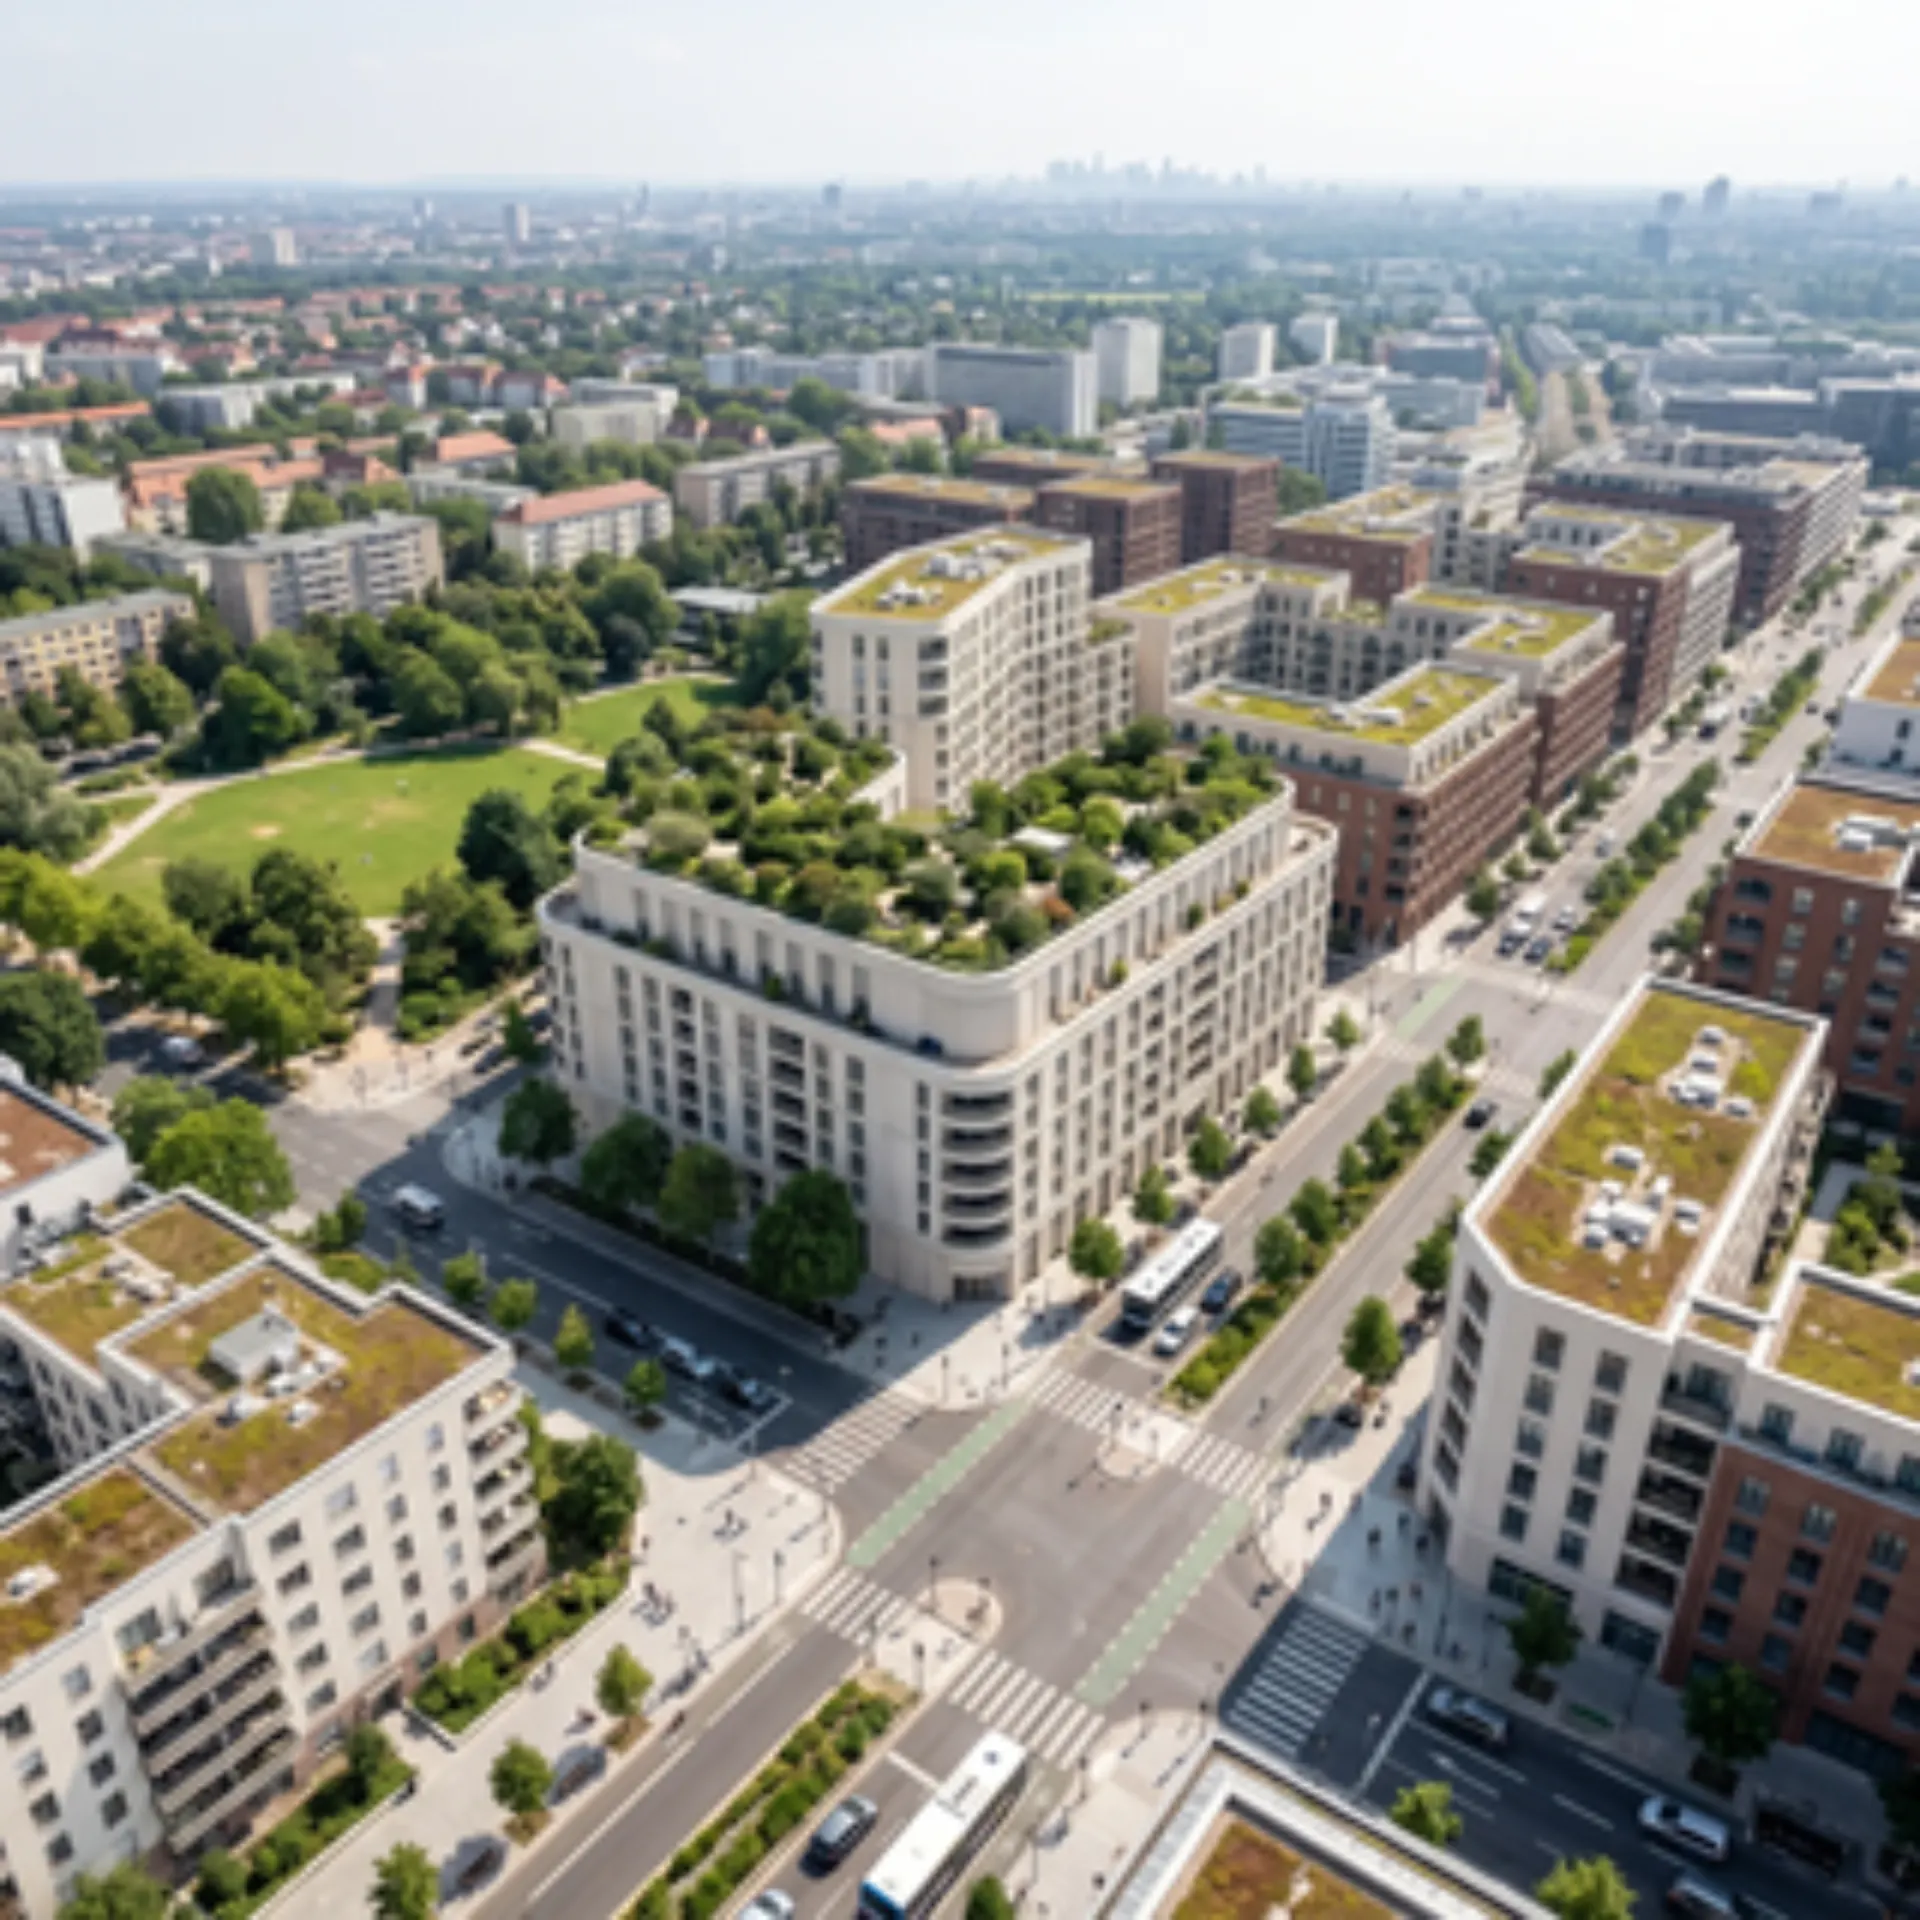
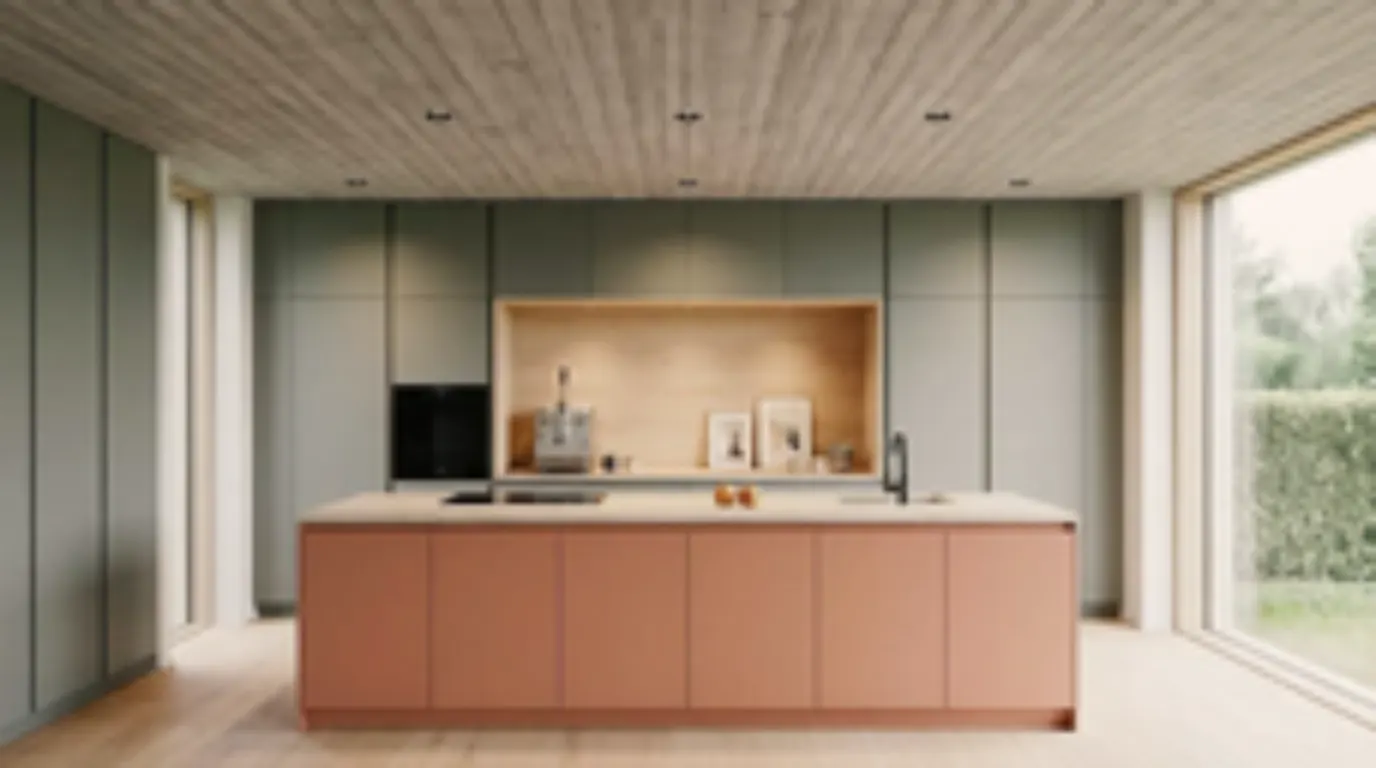
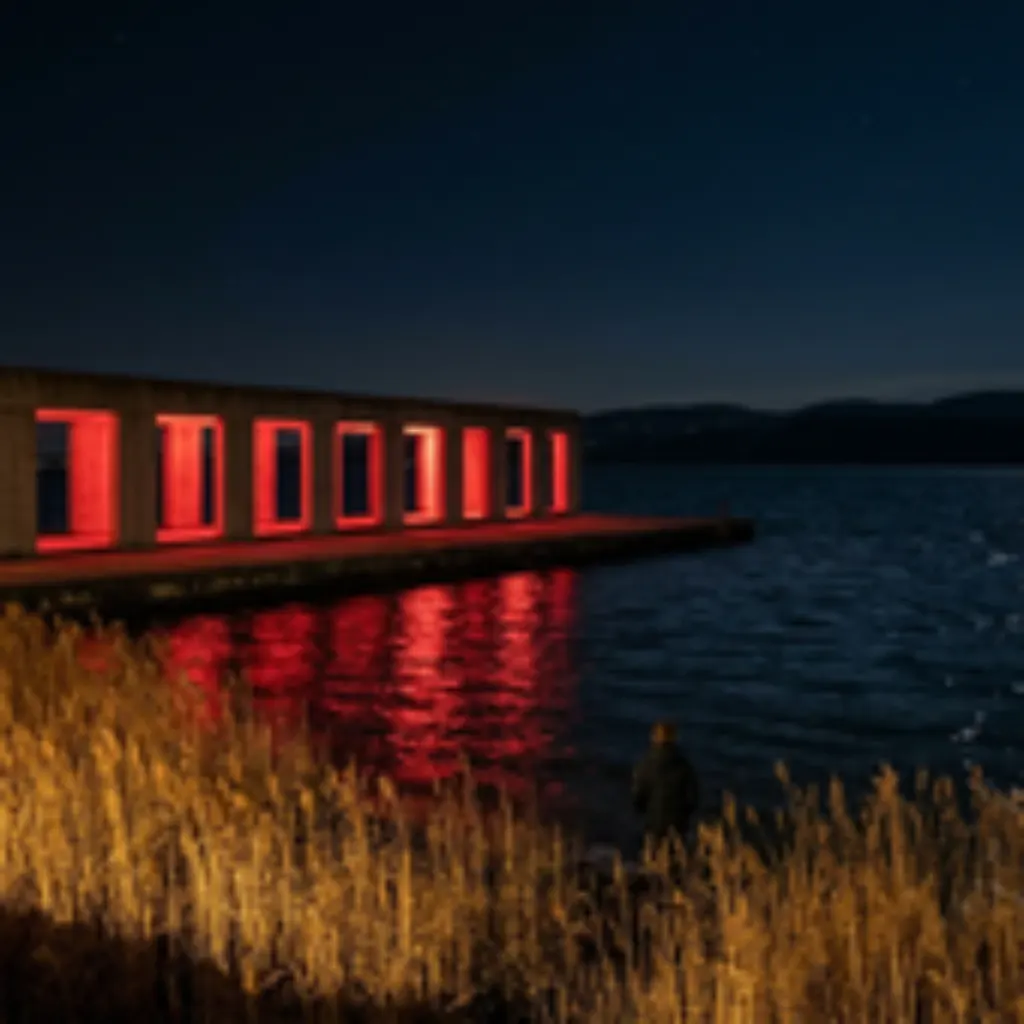
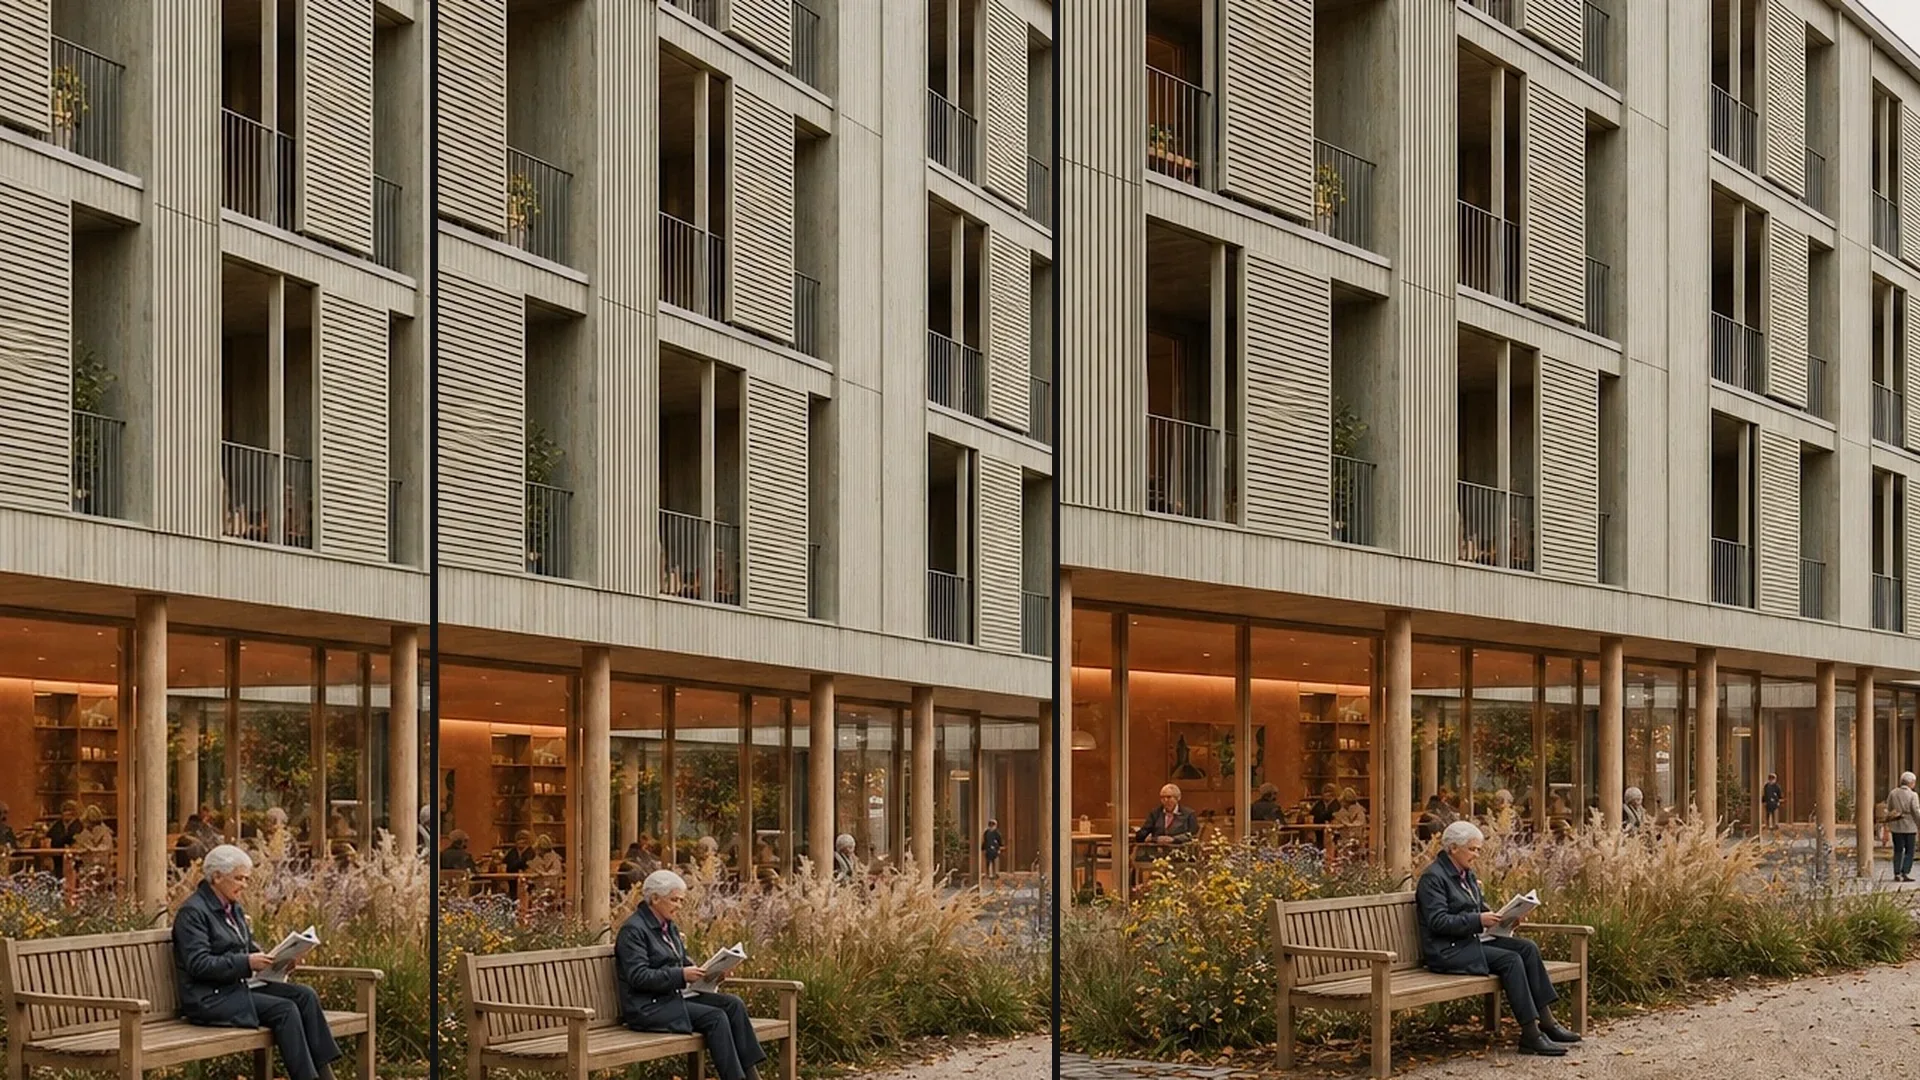
Three images in low and in high resolution – the difference that matters for posters and listings. Click an example to switch between the two.
01
Windows, trees and people from high above: in low resolution they blur into surfaces, in high resolution they become legible – the case where upscaling helps most.
02
Fronts, wooden ceiling and island edges: large surfaces tolerate low resolution, edges and grain don't. Check exactly these spots before the image goes to print.
03
Glowing openings and their reflection: in low resolution the mood remains, in high resolution the drawing of facade and water – what a poster needs.
Upscaling is the last step – after material, masking and selection.
Decide on material, light and framing first, and use masking to edit what should change. The image that goes into the meeting is the one you upscale.
Select the image in Vizera and upscale it up to four times. The result appears as a new version next to the original – the original is kept.
Look at edges, window divisions and vegetation in the detail view, then download the image as PNG for a poster, listing or plan.
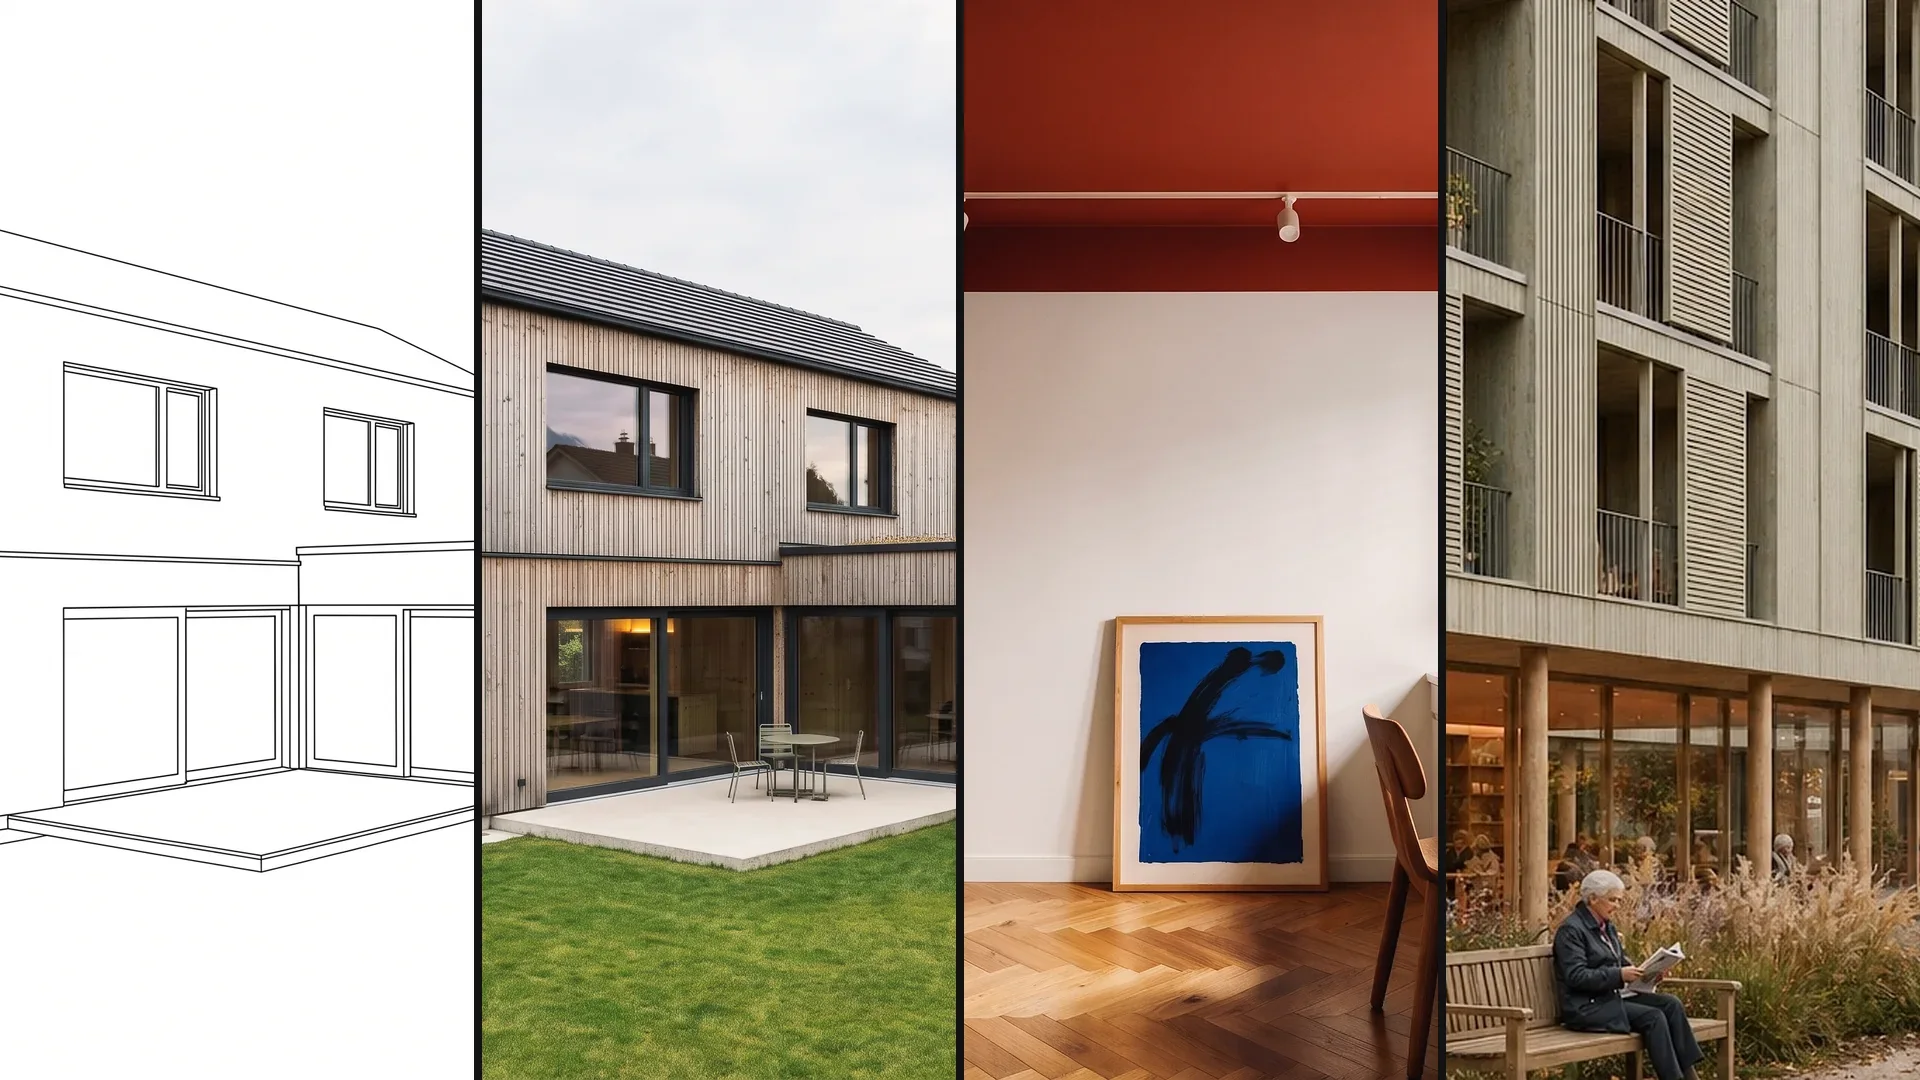
Mark an area, show material or style with a reference image, and collect the variants in Boards. Here's how it looks in the app.
01
Before upscaling, mark what should still change – a facade surface, the sky – and edit only that area. Then the whole image is upscaled.
02
Show material or style with a reference image. The result interprets the sample.
03
Place the original and the upscaled version side by side – so you can check the difference before the image goes to the printer.
Where visualizations need more pixels than the screen.
Test the workflow with one of your own images first. Free is for non-commercial testing. For client projects, choose a paid plan.
Annual payment: 12-month term.
For Testing
Free of charge
200 Credits
up to 40 images, depending on model and resolution
Costs less than one external visualization
CHF 1'440/ year
equivalent to CHF 120 / mo
With monthly billing: CHF 150/ mo
Save CHF 360 per year
4'000 Credits
160–800 images or 10–13 videos, depending on model and resolution
excl. VAT · Annual payment: 12-month term
Native 4K and enough credits to never count
CHF 3'168/ year
equivalent to CHF 264 / mo
With monthly billing: CHF 330/ mo
Save CHF 792 per year
10'000 Credits
400–2'000 images or 25–33 videos, depending on model and resolution
excl. VAT · Annual payment: 12-month term
Depending on model and resolution. Subscription credits reset monthly and are used first; purchased credit packs are valid until the end of the third calendar year after purchase.
A convincing image also has to hold up in everyday design work. In Vizera Labs, we test AI models and editing methods on architecture and interior images – with documented comparisons, measurable criteria and human evaluation.
Are edges, window divisions and lettering preserved when upscaling, or are they invented? We compare upscaled images with the original in the detail view.
A change before upscaling should only affect the marked area. We measure what happens inside and outside the mask.
How close does the result come to your material sample? We compare reference image and visualization and assess how color, surface and material character carry over.
First the facade, then the light, then the furnishings: we examine how image structure, sharpness and colors change across several editing steps.
More pixels don't automatically mean better detail. We compare upscaled images in close-up and check for convincing structures, smoothing and unwanted textures.
Which model suits which task? We compare models on shared test tasks and evaluate image quality, processing time and cost as the basis for our product choices.
Internal Vizera tests. Results apply to the documented tasks, models and settings. You'll find the test scope and limitations with each study.
More pixels don't automatically mean more information. Three things you should know before printing.
Upscaling invents plausible details where the small image had none – grain, foliage, joints. It looks good and is not a measurement; check lettering and fine divisions in the result.
Blurry, heavily compressed or very small images get bigger, not sharper. Export the source as large and clean as possible.
Every edit after upscaling recalculates the image and can lose the gain again. Masking and material changes come first, upscaling at the end.
How the individual tools work and what firms and businesses use them for.
Short videos on this topic: follow along step by step in your account.
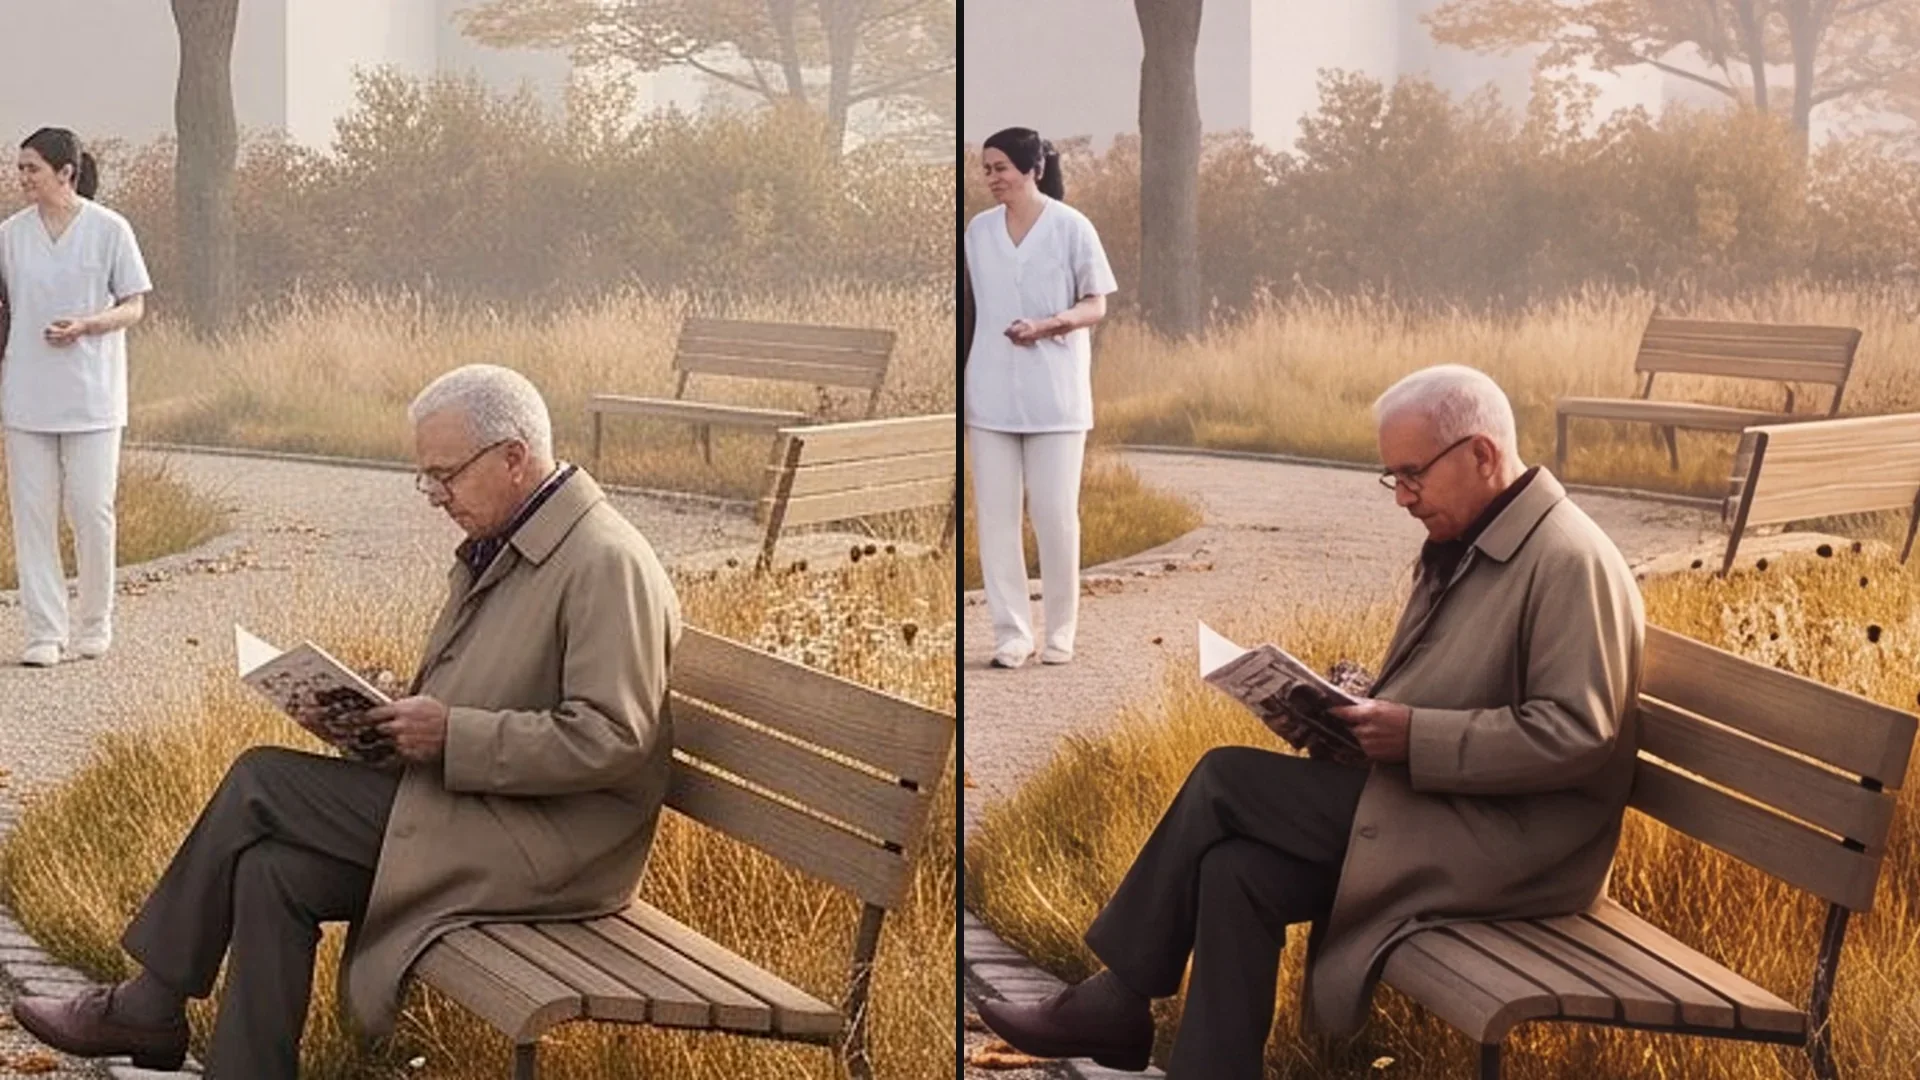
Answers on how it works, factor, details, timing and print size.
An image model enlarges the image and adds structures that are only hinted at in the small image – edges stay edges, surfaces gain texture. The result is a new version next to the original; which provider performs the calculation is stated in the privacy policy.
200 Credits free, once at sign-up. No credit card, no installation.
